Are you ready to start building your own arrows? Installing arrow inserts is a snap. The most important facet for most inserts is making sure the arrow ends are perfectly flat and level. Beyond that, it’s a really simple chore that can be done quick and easy from home.
There are two basic types of arrow inserts for today’s modern carbon and aluminum arrows. There are those that slide inside the shaft until a lip at the top of the insert stops them, letting you know the insert is fully seated. And there are those that are buried inside the shaft, with no visible material on the outside of the shaft.
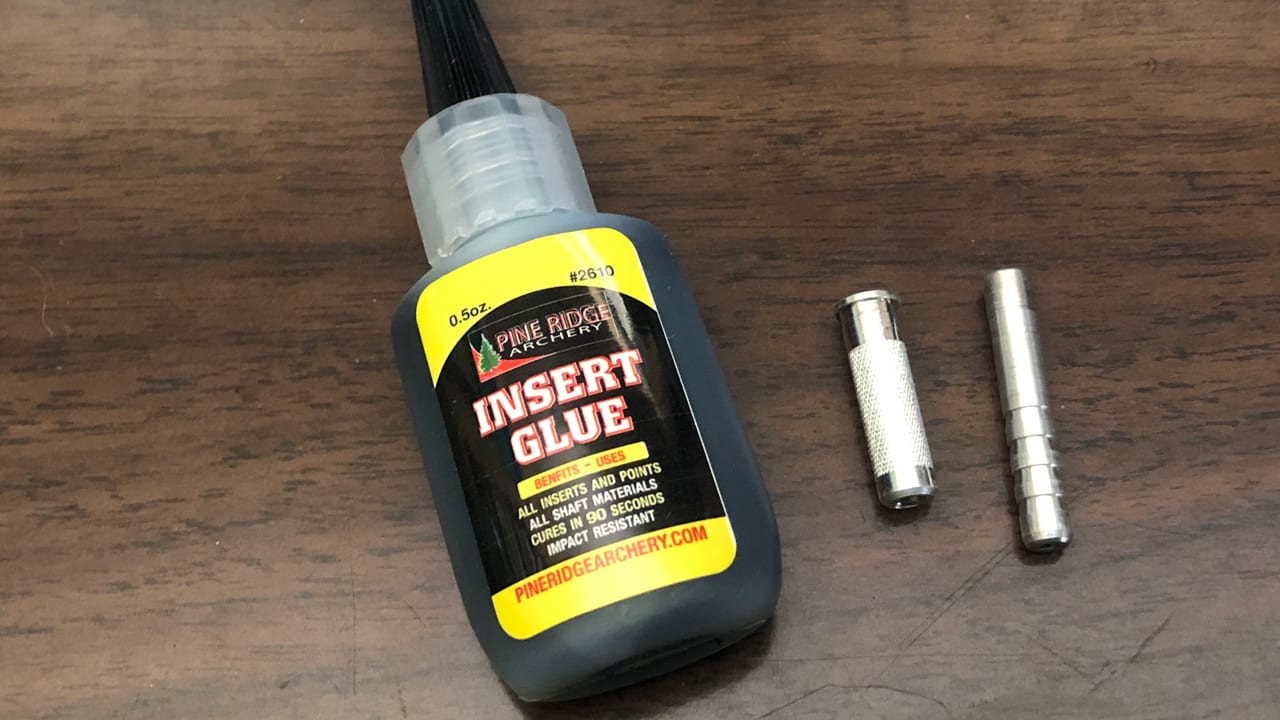
There’s two different types of arrow inserts, each being set in the arrow shaft differently.
Nearly all arrows are sold with the appropriate inserts provided. If you get some arrows without inserts, head to your local archery pro shop to get the inserts that will properly match the inside diameter of your specific arrows.
After cutting your arrows to the length you need them, use an arrow squaring tool to make sure the ends are flat and level. Basically, this is a device that removes excess material from the shaft to make sure your cuts are even. If you don’t do this, your insert can sit at an angle, which means your point won’t be in perfect alignment with the shaft.
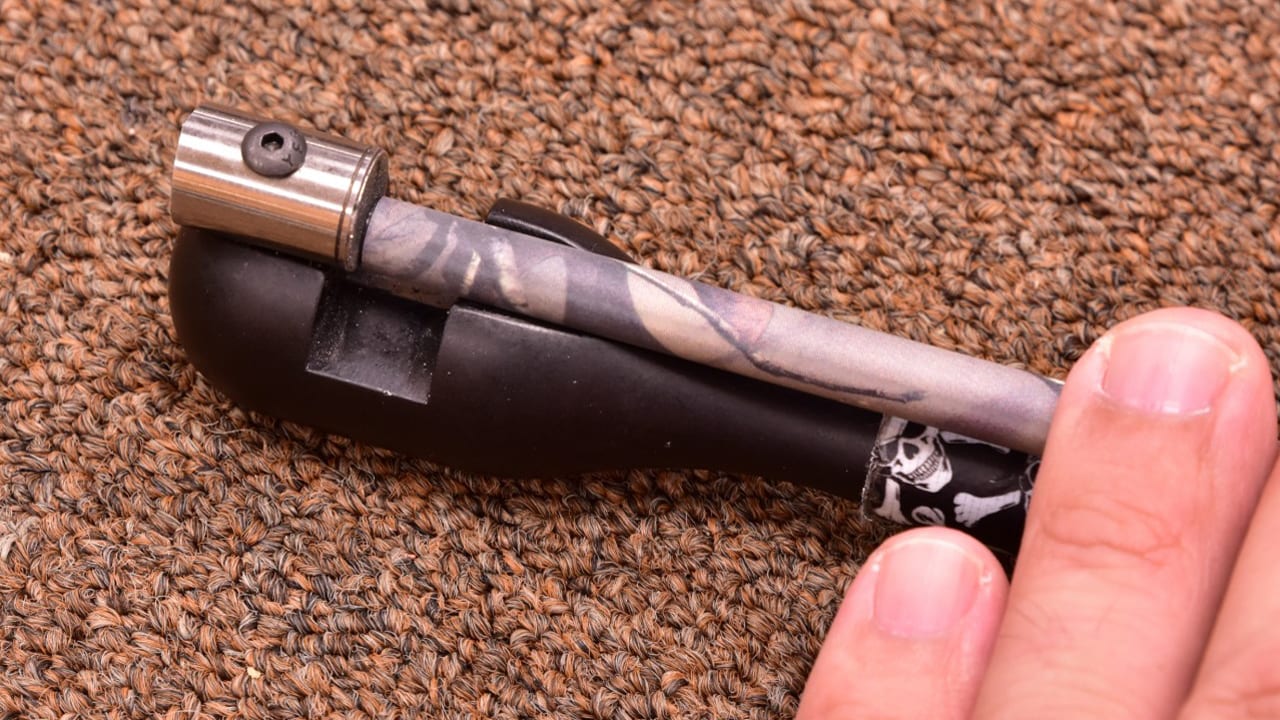
Use an arrow square tool to ensure that the insert seats perfectly on the arrow shaft.
You want your arrow ends to form a perfect 90-degree angle when the shaft is sitting on a table. Then the insert can sit at a 90-degree angle as well. Or if you’re using the sunken inserts – called HIT inserts – then your broadhead or field point will sit against the shaft at a 90-degree angle.
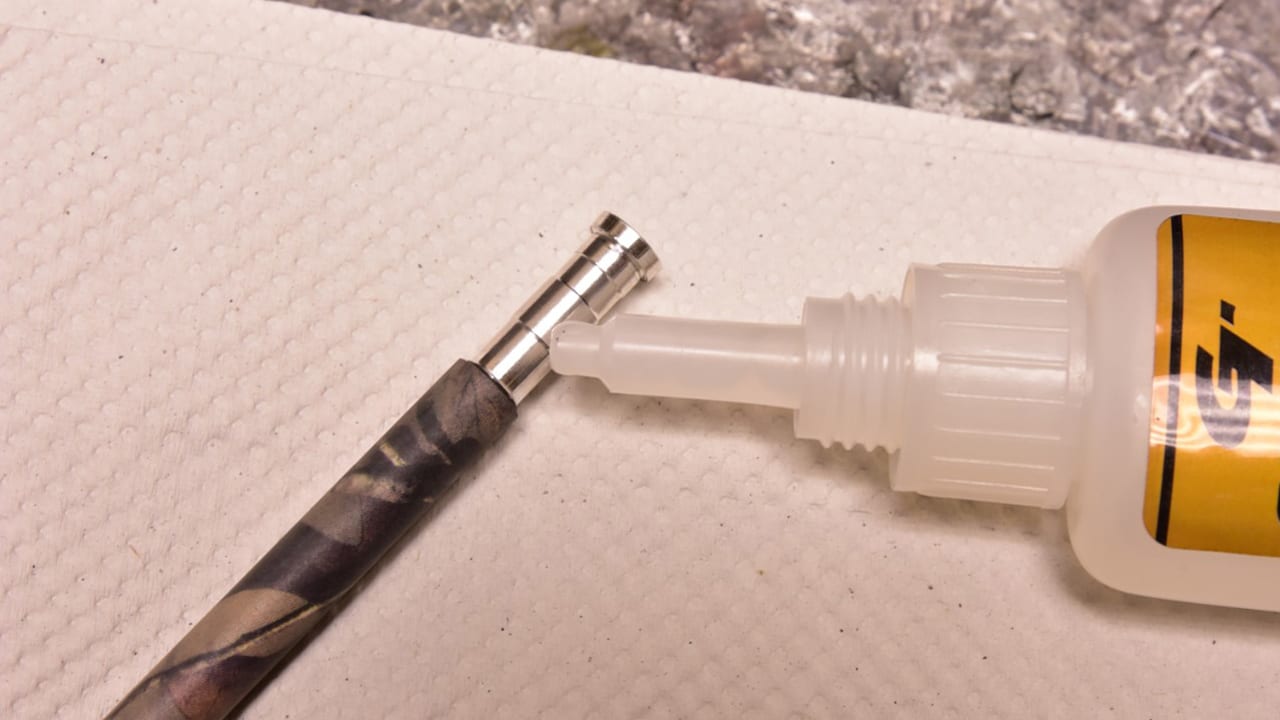
Apply glue to a standard insert as shown in the photo?
Now that the shafts are properly cut and squared, get some fast-setting glue and apply liberally to your non-HIT insert. Push the insert into the shaft and immediately wipe off any excess glue. The insert should be set within seconds, but it’s best to wait several minutes before installing points and shooting those arrows.
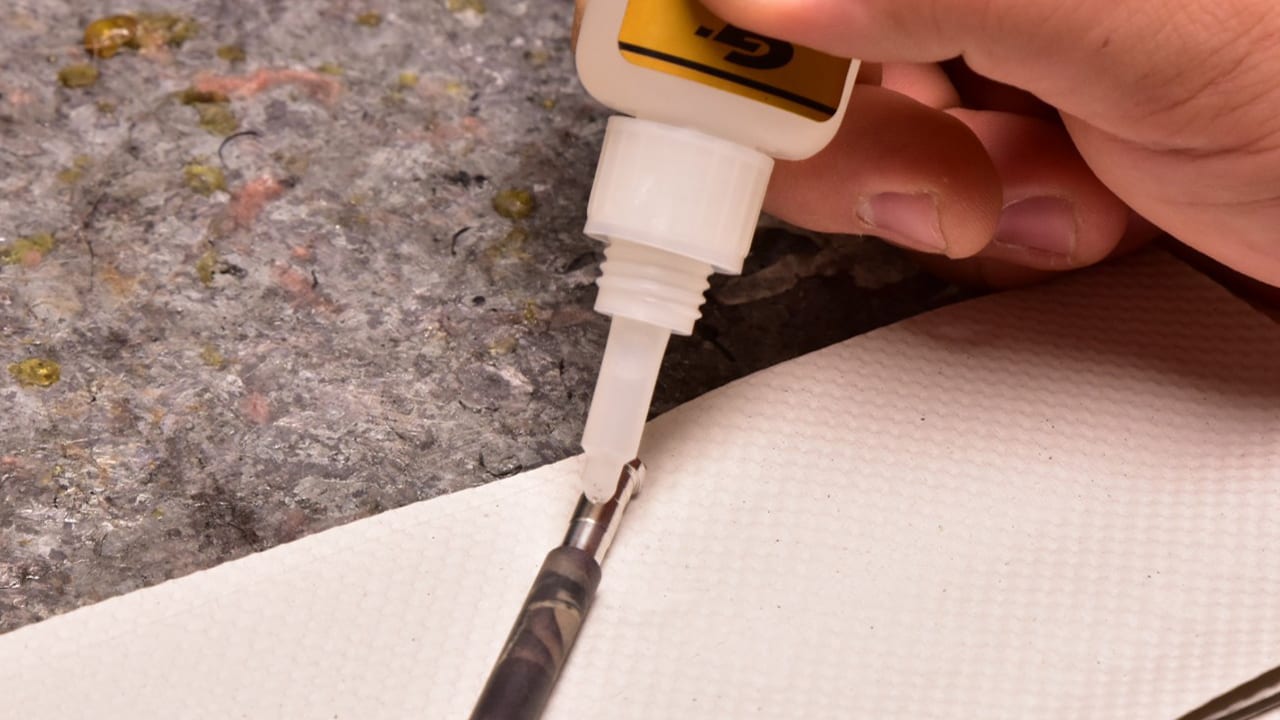
Place your arrows on a table to ensure best insert placement at install as well as when inserts are drying.
HIT inserts usually come with a special tool and some epoxy. The tool allows you to shove the insert down into the shaft to the appropriate depth for point installation. When using the epoxy on these inserts, you should remove the installation tool and then set the arrows on a flat surface to allow the epoxy to cure, while holding the insert at the appropriate depth inside the shaft. If you stand the arrow on end before the epoxy cures, obviously, the insert could slide out of position.
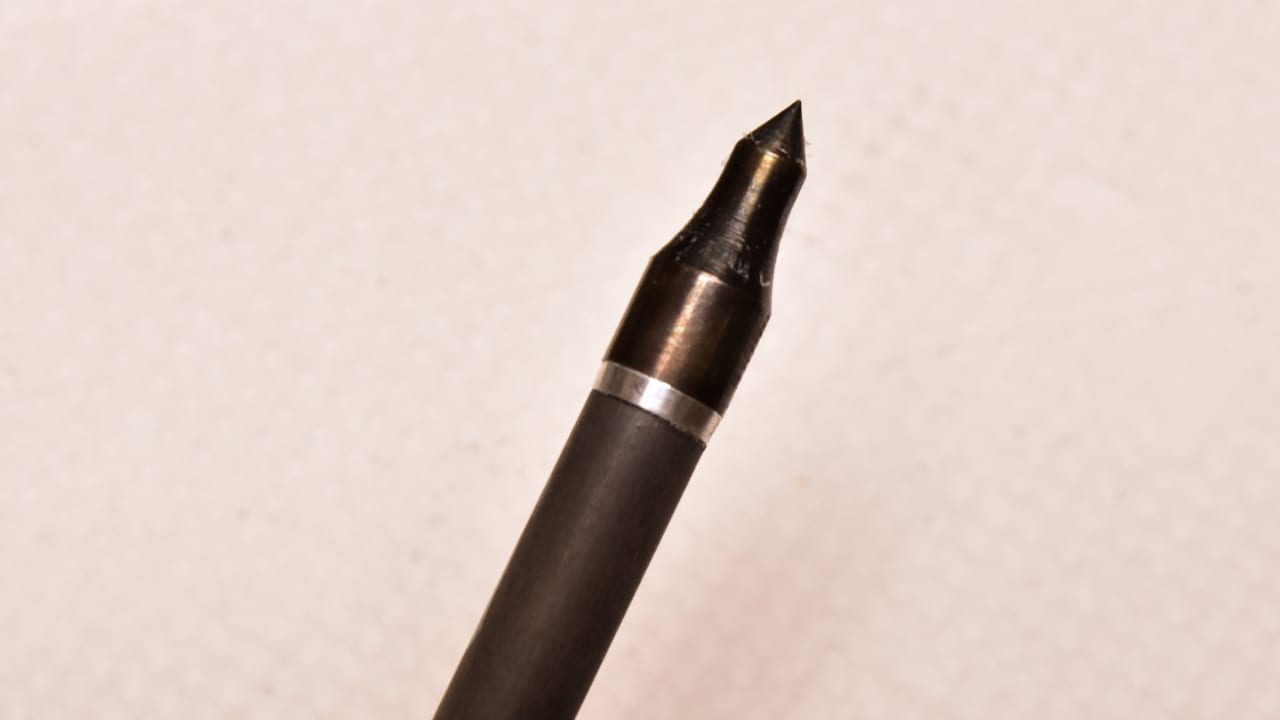
A properly seated arrow insert is vital to how your arrow performs up front.

 By
By 


