Some hunters seem to get lucky and tag a good one every trip afield. I’ve never been that guy. I’ve almost always had to scrap, scrape, prep, and pray for every deer I put in the freezer. And that went double for every one that ended up on the wall.
Each year, I complete a long list of prep work to increase the odds of success. Part of that is developing a target buck list, and then following an array of other steps that help lead to success. Here’s the year of prep work that goes into consistently killing mature target bucks.
Create a Short List
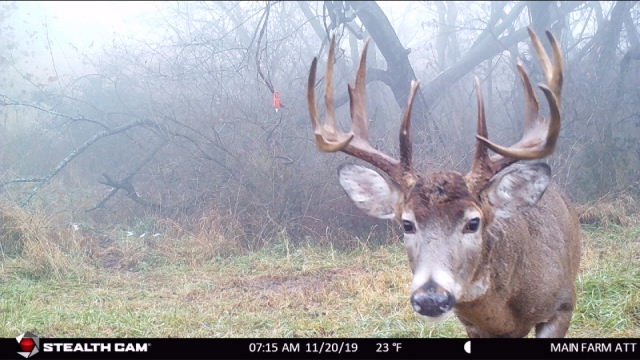
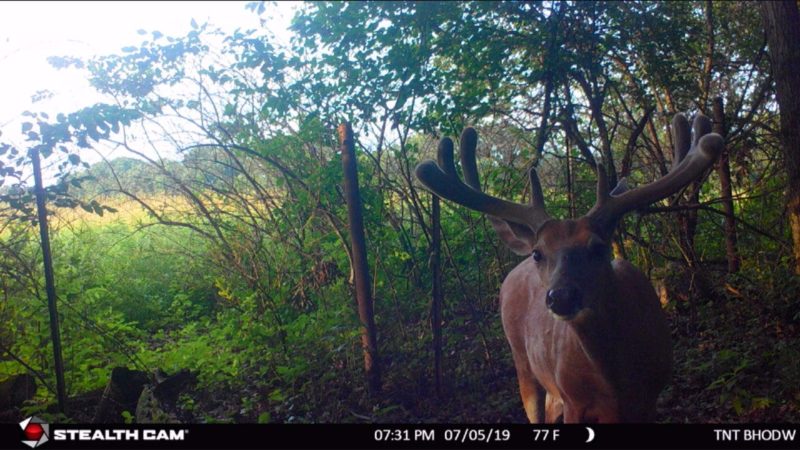
One of the most important things a hunter can do is run trail cameras from summer all the way until after the antler drop. This won’t reveal every buck that made it through deer season, but it’ll capture many of them.
Place each potential target deer that you know (or at least think) is still alive on the target buck list. Only you can determine what a “shooter” looks like to you. Tag whatever makes you happy.
Rank the Bucks
Once you have a list of potential targets, put them in an order. There are several reasons for this. First, you’ll likely invest more time in the deer toward the top of the list.
Second, it’s not unheard of to see more than one of them in a bachelor group, and it’s best to have your mind made up on which one to take if more than one of them present shot opportunities simultaneously. And third, those with a touch of OCD like a good list.
Pour Over Past Trail Camera Photos
Those who have history — in the form of past trail camera photos or in-the-field sightings — with deer will enjoy an incredible head start. While all bucks don’t repeat similar patterns each year, sometimes they do, especially if bedding areas and food sources remain relatively the same.
Looking through old daylight photos of these targets can reveal each buck’s weaknesses, and might even show you where to intercept it this coming season.
Compare Data to Historical Weather and Wind Conditions
Deer are smart, and they generally use bedding areas and travel routes when they provide them some sort of advantage. These can be visual and audible advantages, but it’s usually the wind they really want.
That’s why it’s so important to look at the historical data that goes with the old daylight trail camera photos you have. Knowing what wind direction and weather conditions were in effect when a deer used a given bedding area, trail or food source can help predict the future.
Study Apps and Maps
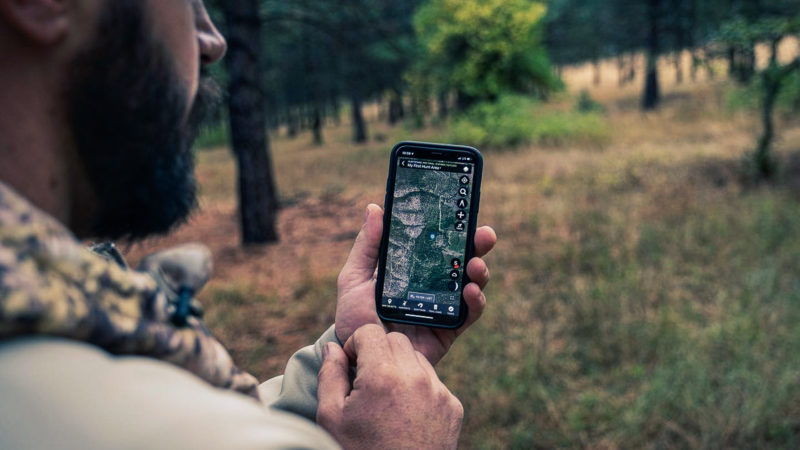
Hunting apps — such as HuntStand — offer tools deer hunters can use. Certain app layers allow you to read the terrain, and even identify potential hotspots to intercept target bucks.
You can also mark relevant data, such as rut sign, stand locations, trail camera locations, in-the-field sightings, and much more.
Create Kill Plots
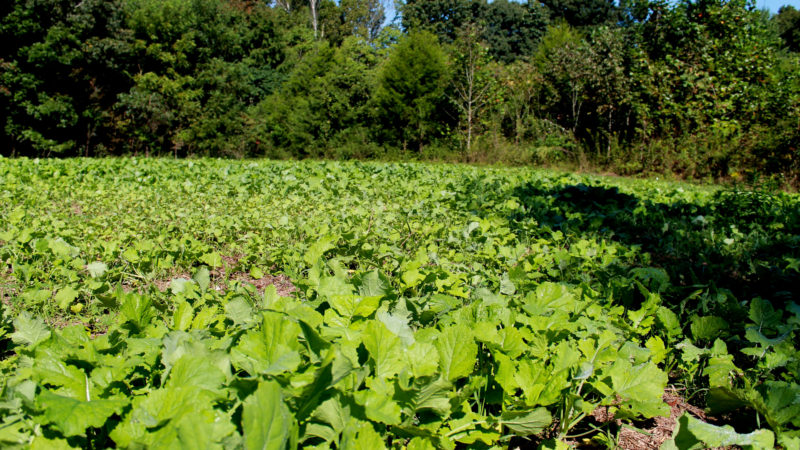
Planting larger food plots that help feed the herd is a good practice, but so is putting in smaller strategic plots. Commonly referred to as either kill or micro plots, when implemented properly, these are primers for big-buck encounters.
While there are many steps to using these correctly, and we could fill a book on the dos and don’ts, the primary objective is to get deer to stage up in these during daylight.
To accomplish that, locate them between bedding areas and destination food sources along natural lines (trails) of movement. That said, position these closer to bedding areas so you’re more apt to see targets during legal shooting hours.
Hang Stands in Likely Hotspots
You’ll want to save a few stands to hang in good spots you identify closer to deer season. Still, it’s best to get the bulk of the elevated perches in place. This provides more time for scent to wash away, and for deer to forget about the human intrusions.
Generally, at this time, I’ll hang stands in spots that are good historically, or in no-brainer spots such as benches, funnels, heavy trails, pinch points, saddles, etc.
Take Pre-Season Inventory
Once antlers begin growing out, it’s time to take pre-season inventory and confirm which deer made it through the previous year.
Summertime inventory won’t capture bucks that only spend the fall and/or winter on your property, but still, it’s best to start this process now. That way, you can start working toward the final steps, which include finalizing initial game plans.
Finalize the Plans
When it comes to deer hunting, I tend to be overprepared. I like to have at least one game plan — for each phase of deer season, which includes the early season, acorn shift, pre-rut, rut, post-rut, and late season — for every target buck.
That’s seven plans for every deer on the list. Of course, not all of them will be needed, but if you create that many plans for numerous target bucks, one of them is bound to go right…right? Well, not always. But again, the odds do increase.
Wait for the Right Time
Once all of the planning is complete, and deer season arrives, it’s all about waiting for the right time. Don’t press in too quickly. If the conditions aren’t right, it’s best to wait until they are.
Then, when everything aligns, you’ll be ready to make things happen. After all, chances are good at least one of these plans will work out.

 By
By 


