LAST UPDATED: May 1st, 2015
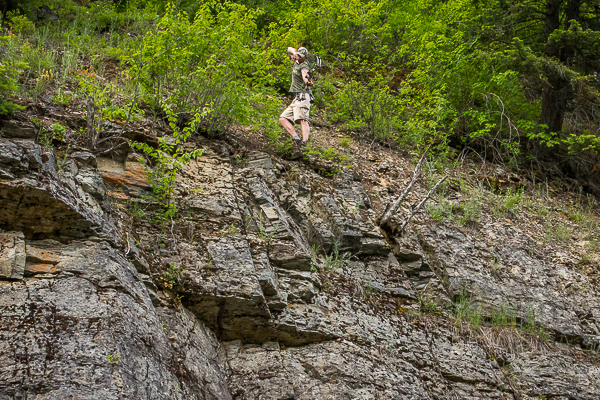
If you’re new to western bowhunting you will quickly learn that it is vastly different than a typical Midwest or east coast hunt. Besides the breath-taking scenery, abundant mountainsides that are soon to be teaming with bugling elk, and the vast solitude that will be found in tackling the best that the west has to offer…bowhunting the west will push you and your equipment to the limit. As a result, the way a bow is set up for treestand hunting in certain areas of the country might not work well in the steep mountain terrain on a mule deer hunt. This is where having a bow that is rigged for the west will pay huge dividends in your ability to punch a tag. However, preparing for “western” shots doesn’t end with the right bow rig.
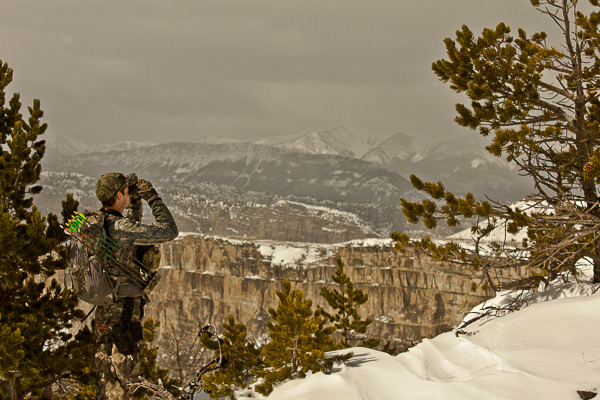
If you have a Western hunt in the works, be sure to prepare accordingly. This means not only prepping physically, but also rigging your bow set up to match the challenges that western hunting will throw at you.
Practice Sessions
When preparing for your western hunt, focus on shooting from various positions and scenarios. You never know how your shot will unfold, so practice shooting from your knees and from steep uphill and downhill angles. Shooting on flat ground is great for fine tuning your setup and working on form flaws, but once you get your bow dialed in, move on to more challenging situations. For example, I like to spend my summer bowhunting training sessions preparing for the unexpected.
Keep in mind that utilizing proper form while practicing for your western hunt will help keep those arrows in the kill zone when the moment of truth arrives. Because of the vast terrain relief in the west, an angle compensating rangefinder is a must for western shooting! Practice with it often to get confident with the readings for steep uphill and downhill shots. When taking steep angled shots, having a quality archery sight that offers a third axis adjustment will also be advantageous in those situations. Otherwise, your shots will miss your intended point of impact to the right or left and that trophy you worked so hard for will be out of your dreams in an instant; even worse, you may wound the animal. In my opinion, third axis adjustment is one of the most critical things on your sight when hunting the west and should not be overlooked.
Forget about typical “backyard” practice sessions. If you’re going to be ready for a Western hunt, you need to push yourself like you’ve never done before.
While typical summer practice is normally spent by enjoying backyard shooting sessions, to truly grasp what you’re going to be experiencing on a spot and stalk hunt or a mountain hunt, I’ve always found it is best to practice how you will be hunting. This can be accomplished by simply getting your heart rate up and then taking a shot at a target, shooting with the sun in your eyes, or it could even mean shooting in varying weather conditions with your gear on to see how your form reacts to more clothing. The options are endless and can be tough, but you will be happy you exposed yourself to those varied, realistic training sessions once the season is upon you.
Shooting Distance
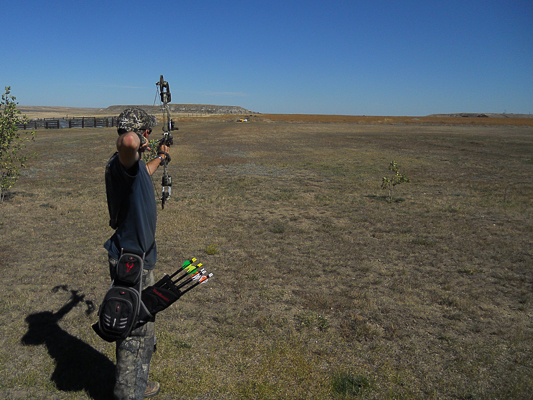
Where you live will play a large factor in the distance you are used to shooting. In areas along the east coast a 35 yard shot might be as far as you can shoot due to brush or trees. So you may only practice for that distance and closer. On the other hand, distances out west can be on the longer side; especially if you’re hunting open terrain. For example, shots can stretch out to 50-70 yards in a hurry when you start stalking some of the animals that live in the flat sagebrush terrain. Keep in mind your comfortable shooting distance and try to practice beyond that yardage in order to make yourself more confident at closer distances. A good rule of thumb is to practice at a distance that is double your comfortable range. For example, if you’re comfortable shooting distance is 40 yards, then practice shooting at 80 yards to make those close shots seem much easier.
Extended shooting is the name of the game out west. If you want to increase your chances of success then it is important to prepare for the long shots that are so often the norm in open country.
One of the main benefits of practicing at 80 and even 100 yards is form or tuning flaws will be magnified at longer distances, making them easier to detect. This is a great tool to utilize to find out what you need to work on. After a few months of long range practice, those close shots will seem effortless and your shooting confidence will skyrocket. This is also where I find an advantage to utilizing an adjustable sight rather than fixed pins. A sight that enables an adjustable pin will allow you to dial a pin into the correct yardage; which will eliminate the need to gap pins and also provide a more accurate shot once you get into further distances.
Balance
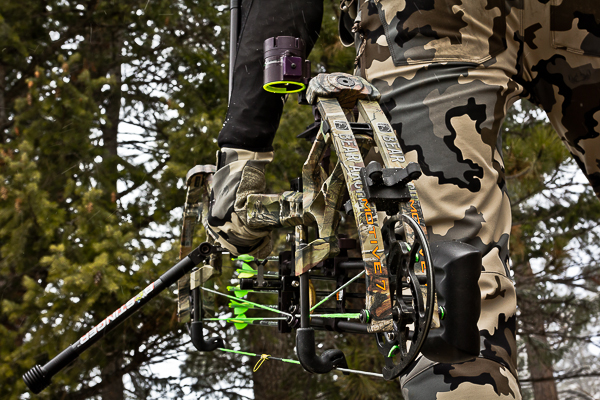
The way your bow balances at full draw will play a large part in your accuracy when shooting in difficult terrain and at further distances. I have found it best to bowhunt with a quiver attached to my bow so if a miss occurs, I can quickly grab another arrow if the animal presents another shot. That being said, bow balance will need to be accounted for with the weight of 5-6 arrows, plus a quiver, sight and rest sitting mainly off to the right side of your bow (if you’re a right-handed archer, opposite for left-handed).
Don’t take for granted how your bow balances in your hand. Longer shots require more precision and the better your bow balances the more precise and accurate it will be.
You may also see a benefit from adding some weight to a side rod or adding/subtracting weight from a front stabilizer. These things will help the bow balance out at full draw and will enable you to acquire your sight picture faster and hold on target more accurately. Adding more mass to the bow will also allow you to hold steadier in the wind. Trust me…bow balance is not just for target archers!
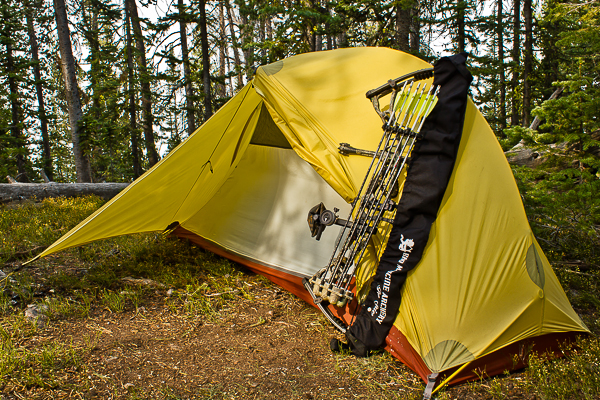
A quality bow sling can help take some of the weight off of a “westernized” bow rig.
The downside to adding mass weight to your bow for balance and ease of shooting is that you have to carry that extra weight each day. This is where utilizing a bow sling can add comfort to the daily push towards your trophy and will also help protect your string from debris and rocks as you maneuver in for a shot.
Bow Poundage
When you are attempting to take larger game such as elk, moose, and old mule deer, you may want to take a look at your bow poundage. Yes…you can kill an animal at 50 pounds and many animals have fallen with such setups over the years but a pass-through will equal a shorter blood trail. Having that heavier draw weight, as well as having a heavier arrow setup, will put you on the right track to success. Penetration is critical, especially if you are taking a shot at a longer distance on a larger animal. Keep in mind, to shoot a higher poundage bow, you need to work up to that draw weight so you don’t injure a shoulder and/or shake uncontrollably after you reach full draw.
Heavy vs. Light Arrows
No matter where you’re hunting it’s always best to build an arrow that is suited for the game you are after. So where do you start? A lighter arrow will give you more distance with less of an arc while a heavy arrow will give you more penetration with more arc. They each have their place in certain situations. So what is best?
Today’s setups are very versatile, but don’t let this be a reason to not set up your equipment for the hunt you are preparing for. I prefer arrow weights in the range of 430 to 510 grains of finished weight in order to achieve higher momentum and kinetic energy. A lighter arrow will have more speed, but less downrange energy.
With just the right bow and arrow setup, success will be easier to achieve once the shot is made.
I have found that a heavier weight arrow will be better in the long run than extra speed. Speed can be hard to contain, and when you add thick skinned animals to the equation you will be glad you have a heavier setup that is built to do the job. I’d rather have an arrow that penetrates further into an animal, than have a lightning fast flat trajectory arrow. Heavier arrows will also maintain more energy downrange which increases their ability to pass through an animal for a better blood trail. For those “what if” situations, a heavier shaft will also penetrate bone and would be more favorable for angled and longer distance shots enabling you to still get the required penetration for a lethal shot. Heavier shafts also drift less in the wind.
Conclusion
Sometimes you may only get one chance at your dream animal. Make it count and have patience. It is almost impossible to not have your heart pound out of your chest when a nice bull elk comes screaming in. Just try to focus as best you can and remember how you prepared yourself for this moment. Tuning, practice, and pure aspiration are what define the person that succeeds on their first trip out west. Like every aspect of life, proper preparation equates to success and sometimes a little bit of luck goes a long ways.

