LAST UPDATED: February 11th, 2021
There are no words to adequately describe what we see, hear and experience while hunting. The crisp fall leaves, the wildlife, the sunrises and sunsets. Likely many more details than my words can describe.
Filming a hunt creates an experience, captures memories or tells a story that you can share with others and treasure over and over again.
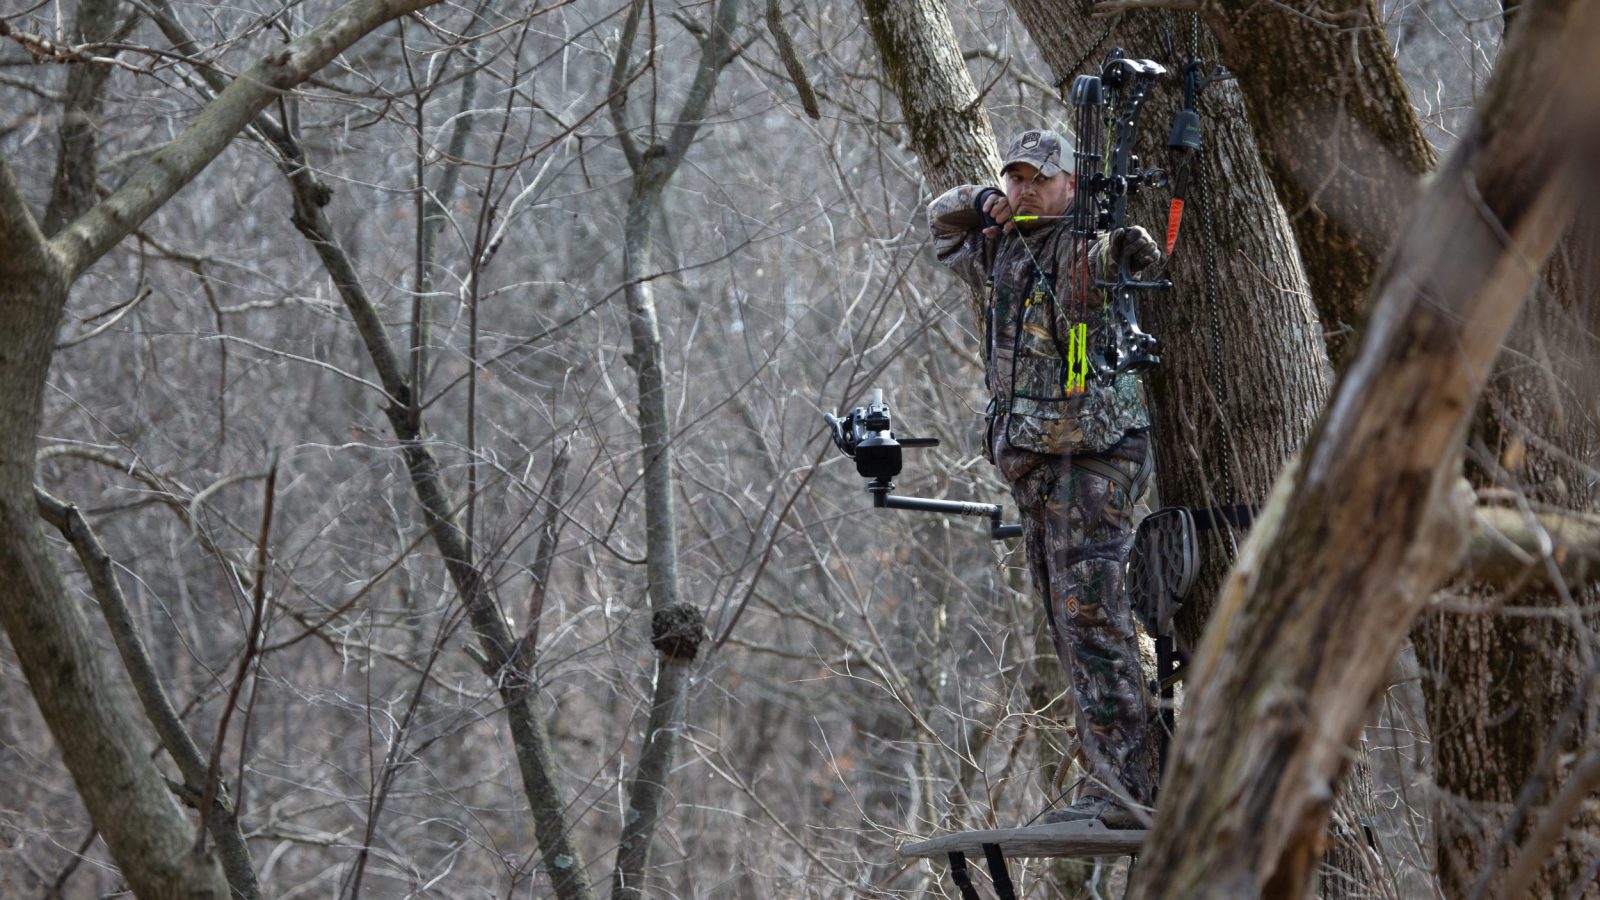
If you’re a hunter interested in getting started filming your own hunts there has never been a better time to start. Filming hunts is gaining popularity.
It’s growing nearly as popular as the sport of bow hunting itself. With user-friendly technology just a credit card number and a click away, more hunters are jumping into the thrilling world of filming hunts. Like it or not it is a “digital world”.
Technology has crept in everywhere. With the influx of technology more options and lower prices are now more available then ever before.
It is now more affordable specifically when it comes to video filming equipment. My intention is to offer you information and advice on how to film your own hunt each time you climb into your treestand.
State your Intentions
Prior to filling your digital “cart” and clicking the “place order” button, do some thinking. Here are some questions to thoughtfully plan out:
- What are your goals in filming hunts? What types of hunting do you want to film (what animals, what seasons)?
- What do you want to produce? Videos for personal, hobby and or professional use?
- How will you logistically produce it from start to finish?
- How much are you able to spend?
- Will you be hunting in the tree or on the ground? Or both?
- Prioritize!! It adds up quickly so prioritize your “needs” and “wants”
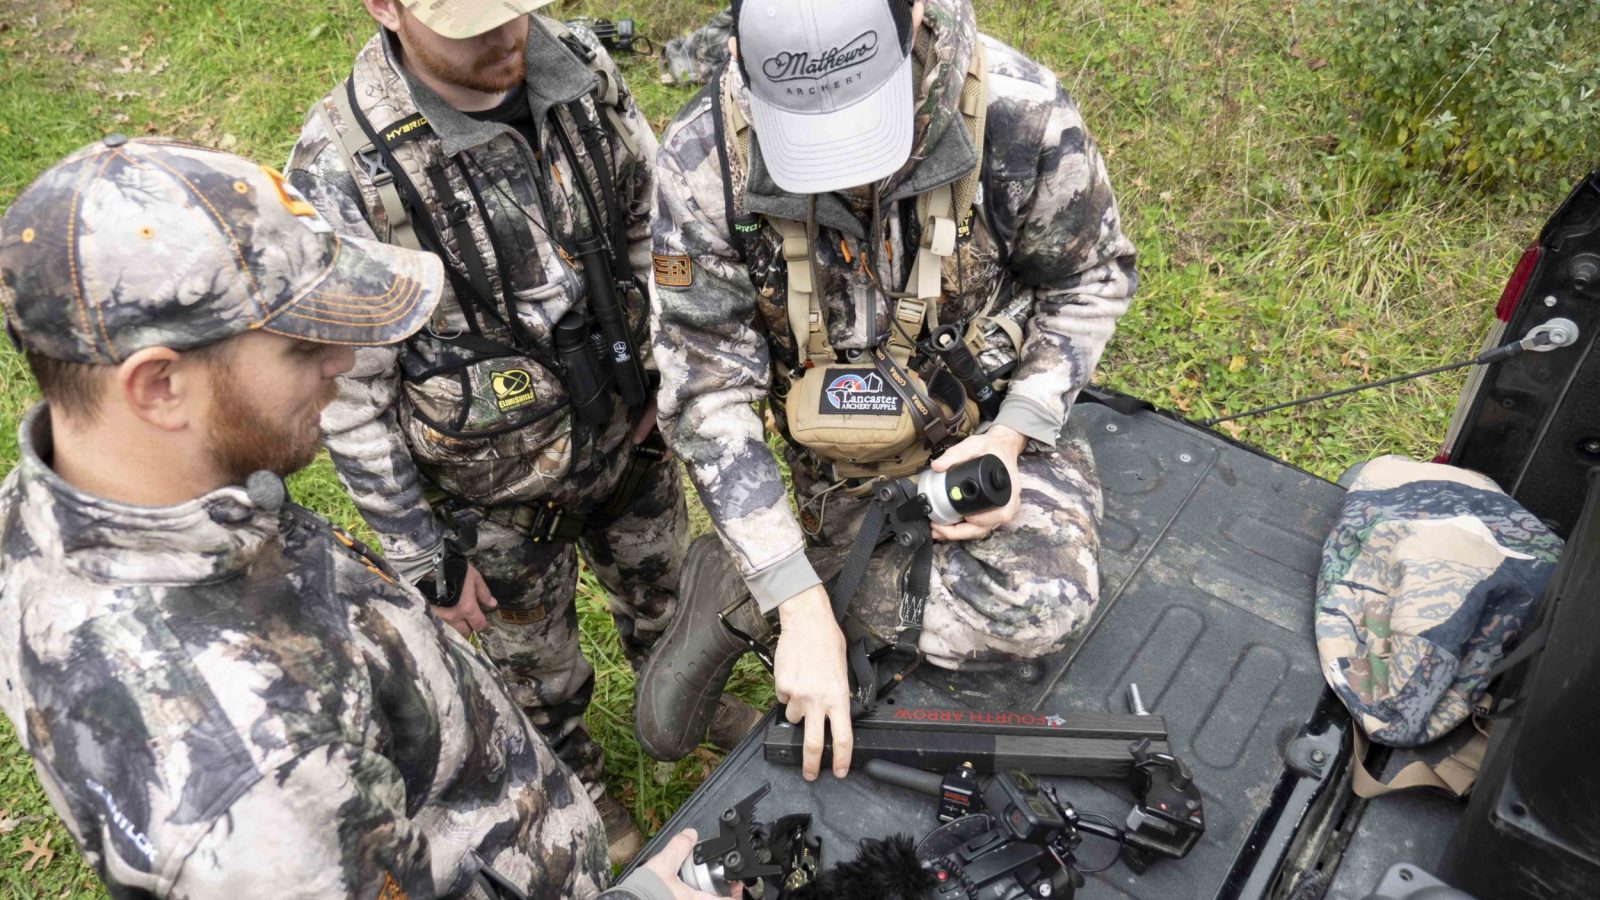
It is important to know your expectations and limitations and stick to them. It is easy to get caught up in the latest and greatest of gadgets or keeping up with other hunting videographers styles and set ups.
Are you simply looking to document your hunt to show your friends or are you looking to become the next YouTube hunting sensation? Have you considered the editing process? Keep in mind you should consider editing software to make your videos come to life. No one wants to watch a long drawn out video of your every thought and move.
Camera
This is a biggie! El numero uno! You may be a step ahead and already own a nice HD quality video camera. If you want to get any footage this fall you need to start with a video camera of some type. My recommendation is to start small. You could try using the smallest option out there, your cell phone, but it’s not a good idea.
Save your the time and energy! The battery life stinks, you can’t zoom well, the sound is very poor and you wouldn’t be happy hunter if you dropped your phone mid hunt. So save your selfie-stick for something else.
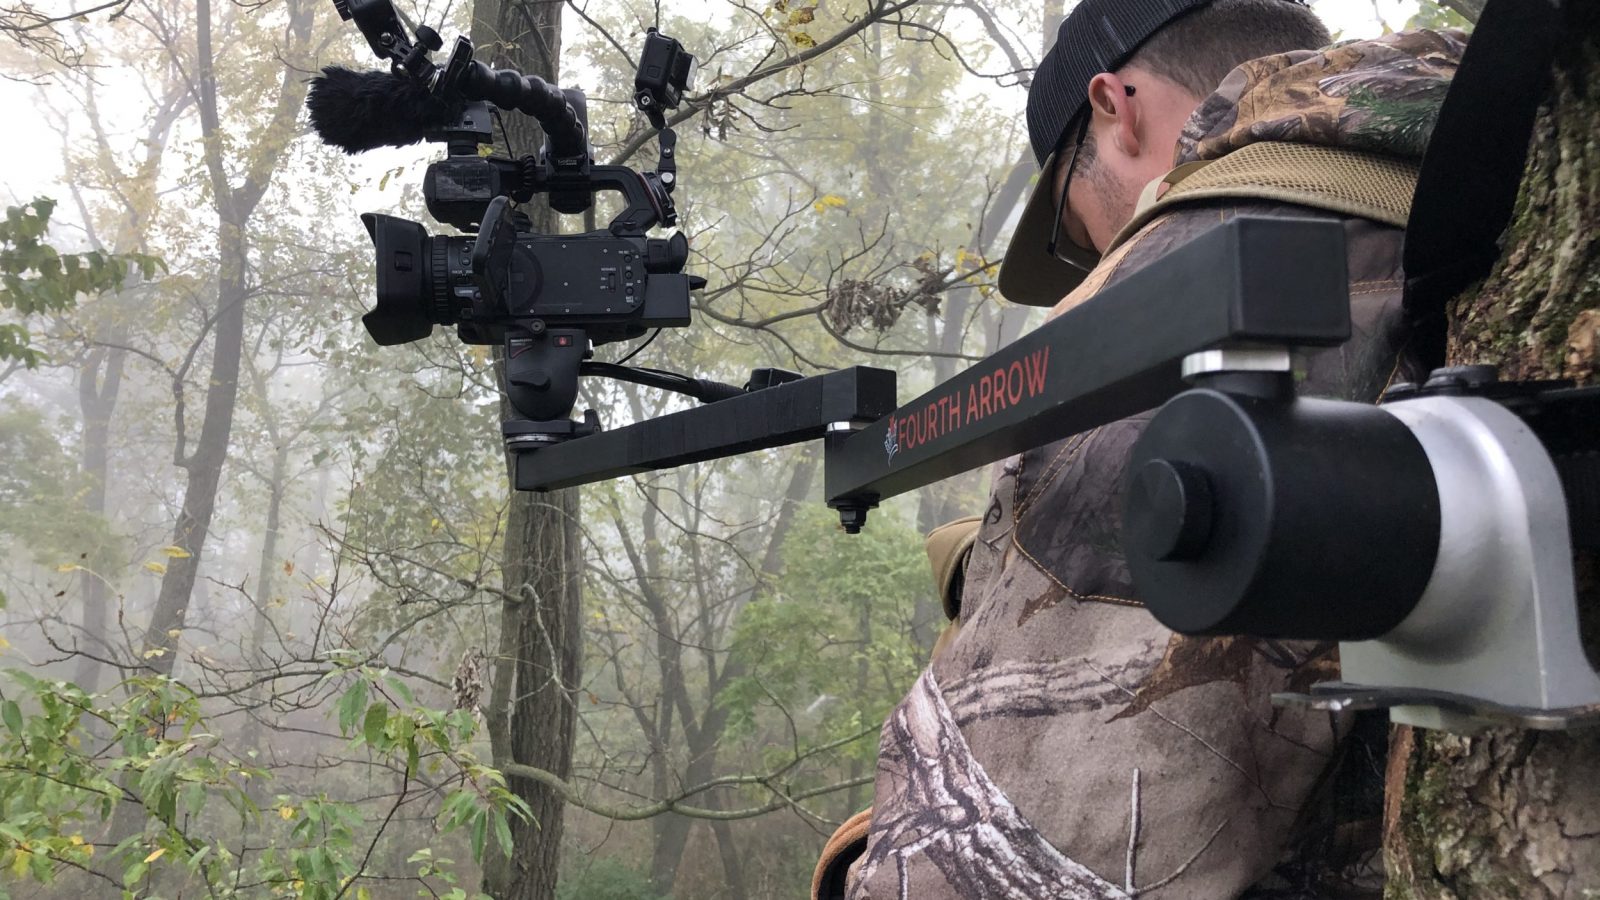
Back to the video cameras, yes small is a good idea as well as light-weight (very important). There are a plethora of good deals out there on small quality HD cameras that do the job well. You are likely going to spend $800-$1,800 on the camera.
You can spend more and get more, but do your homework and don’t spend unnecessarily. You may not need all of the bells and whistles, just the basics. In the past I used the Canon VIXIA Series and now use the Canon FX400.
These cameras are a great fit for the weekend warrior looking to film their hunts. I am not one to get hosed by a warranty, but hear me out. Our equipment takes a good beating in and out of the woods. It will get damaged, so an additional “no questions asked” type warranty is a good investment. That can likely be $100 – $300.
And don’t forget the SD cards – $25-$50 – and back up battery packs for around $45. You may want to consider an additional microphone. A shotgun microphone varies in price from $80-$200. Make sure to read reviews.
Camera Arm
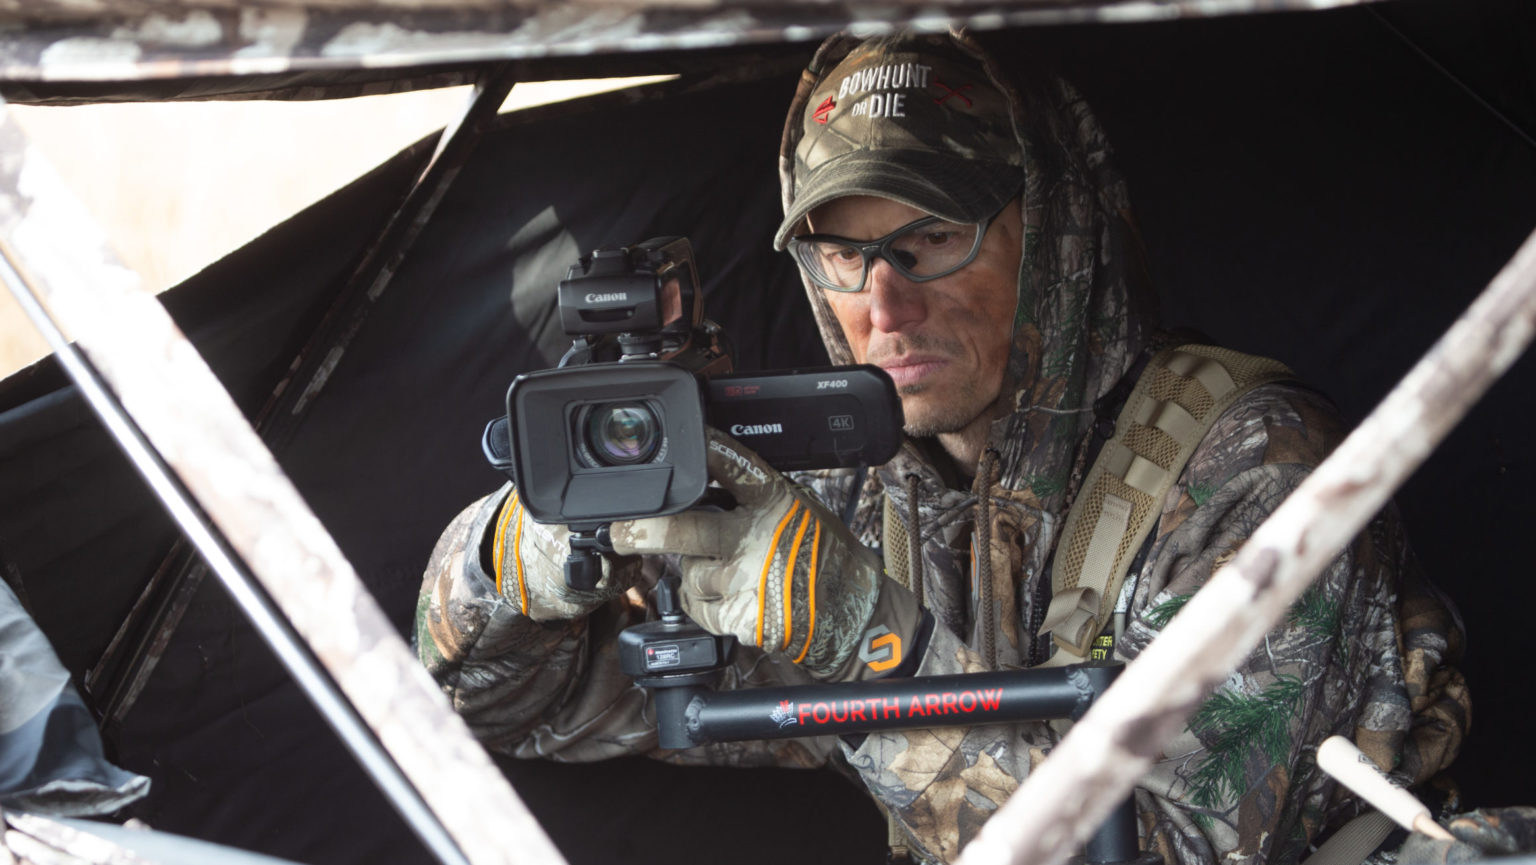
If you are filming from the tree, you will need a camera arm. There are a number of camera arms available. I personally have enjoyed the Fourth Arrow Stiff Arm. Which is priced at $159.00.
Fouth Arrow also came out with the Talon Micro Triple Arm with a 21 inch arm length, ideal length for saddle hunting!
Fourth Arrow offers a variety of camera arms for every hunter, you can purchase these online at Fourtharrowcameraarms.com
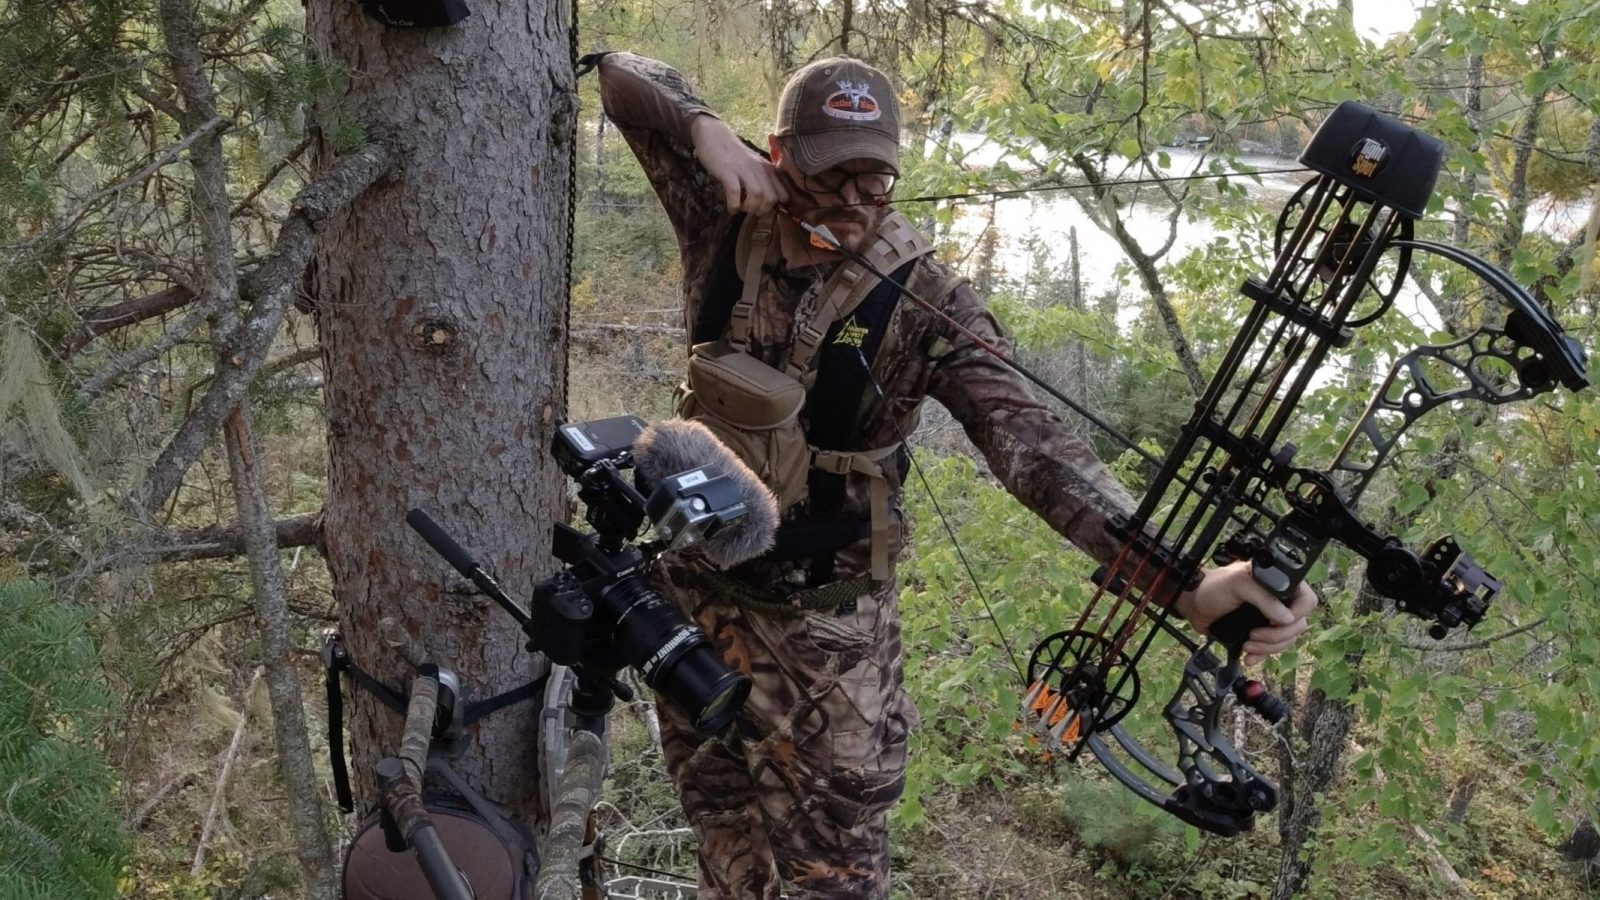
In relation to the camera arm is the Fluid head. Bear with me here, I am hoping to spare you some time and shock to your budget. What in the world is a fluid head you ask?
Sounds silly, but it is oh so important to obtaining high quality videos and not shaky amateur videos. A good fluid head attaches to the arm then the camera attaches to the fluid head.
The fluid head allows the operator to move the camera side to side and up/down fluidly and smoothly. Fourth Arrow as well as Manfrotto, both offer great options at an affordable rate. Fluid head prices vary from $130 and up.
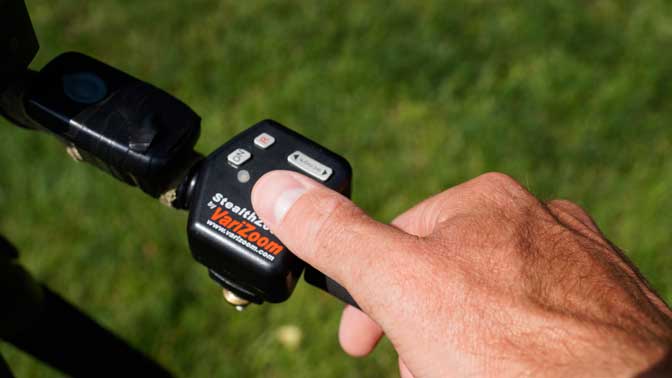
Oh wait there is more! See, I told you it adds up quickly! Now let me tell you about the Vari-Zoom Controller. This item is an absolute game changer when filiming your own hunts.
The VariZoom Stealth Controller, priced at about $100, allows for one-handed activation of the video camera’s power button, zoom, and record. Doing so allows the hunter to hold the bow in one hand and film with the other. Check em’ out…game changer!
Tripod
If you are hunting from the ground you’ll need a tri-pod. You can use the fluid head and the VariZoom Controller attached to your tri-pod if that helps you to justify spending the extra money. A tripod will make your hunt much more enjoyable.
Do your homework here too. You don’t want to be deceived by the pricey options if you aren’t going to need it. I use a Cullmann Magnesit 528 Aluminum tripod, prices range from $120. The Cullmann tri-pod has offered me years of trouble free use. It is pretty cut and dry in the tripod arena.
2nd Angle Camera
Now you can take a breather here because a 2nd angle camera isn’t a “must” but is certainly worth adding on when you can. Keep in mind that good video production includes providing multiple angles for your viewers, but don’t go too crazy with this.
Too many cameras can mean too much to think about when all you need to concentrate on is you and the animal. A very cost effective 2nd angle camera that you likely already own, can be as simple as using your trail cameras strapped to a nearby tree or Stick n Pic set to video.
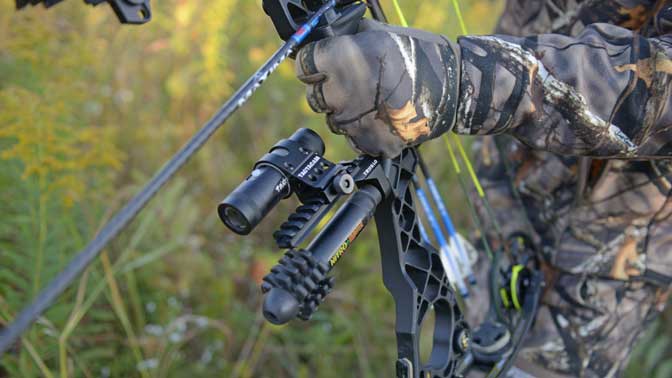
Bam, there you go! Although video quality may be a factor here depending on your goals. A great option for a 2nd angle camera is the bow mounted Tactacam. The Tactacam retails for $280 and up. These portable cameras offer great HD footage with a variety of interchangeable lenses to meet your needs, from zoom to the fish eye view.
The bow Tactacam mounts directly to the bow utilizing the stabilizer threading. The X-Tag Scout Bracket Adapter, priced at about $35, is a good mounting option for the Tactacam if the user doesn’t want to replace their existing stabilizer.
The Tactacam is designed primarily to capture the moment of truth from the hunter’s perspective. The Tactacam is built to withstand the shock of the “shot” from a bow or gun, enabling the camera to stay on target and focused throughout the entire shot process.
The GoPro Series of cameras is another popular POV camera. There are countless adequate GoPro models to choose from with prices varying from $150 and up. I highly recommend a 2nd angle camera that comes with a reliable remote that you can easily velcro or snap nearby. When seconds count, I press record on my 2nd angle camera remote and my VariZoom Controller without fumbling.
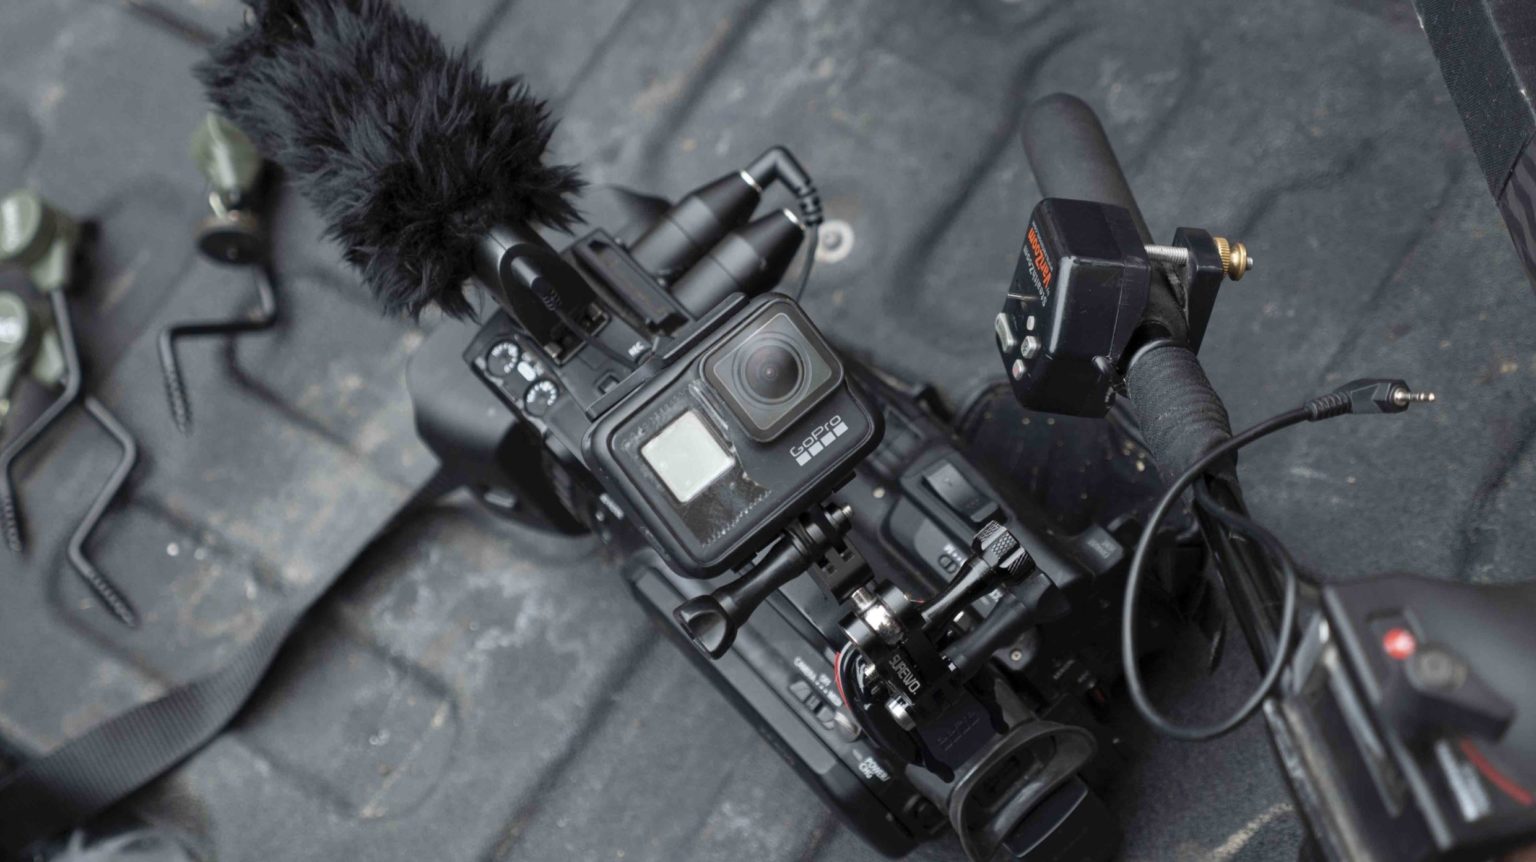
Using a GoPro as a 2nd angle camera works great when you can strap it to your bow, the tree or even on top of your main camera. All you have to do is angle the GoPro at yourself so that while your main camera is recording the deer, you will have the 2nd angle of you taking the shot.
Storage
You just spent a lot of money, now how are you going to get your small fortune safely in and out of the woods? Getting to and from your hunting spot can often mean a long hike through rough terrain, crops or even tree branches slapping you in the face.
A backpack might be a good starting option. I learned the backpack, utilized in this capacity, is often hard to dig through, as everything falls to the bottom and items often shuffle around and get damaged. For the last couple of years I have settled quite comfortably on a stand-alone fanny by Game Plan Gear. Oh yeah, I said Fanny! The fanny is a pouch-like multi compartment organizer that you wear. It is priced at $50-$100.
It has durable shoulder straps and clips around the waist as well, in order to equally distribute the extra weight. This small pack has plenty of room for my video camera and 2nd angle camera inside. I utilize the outer flap to secure and store the tree arm.
When packed this way I can have my hands free to hold my bow for the walk in. I can also fit all of my other accessories like my tags, head-lamp, sprays, camera batteries, etc. Oh yeah, and a couple snacks!
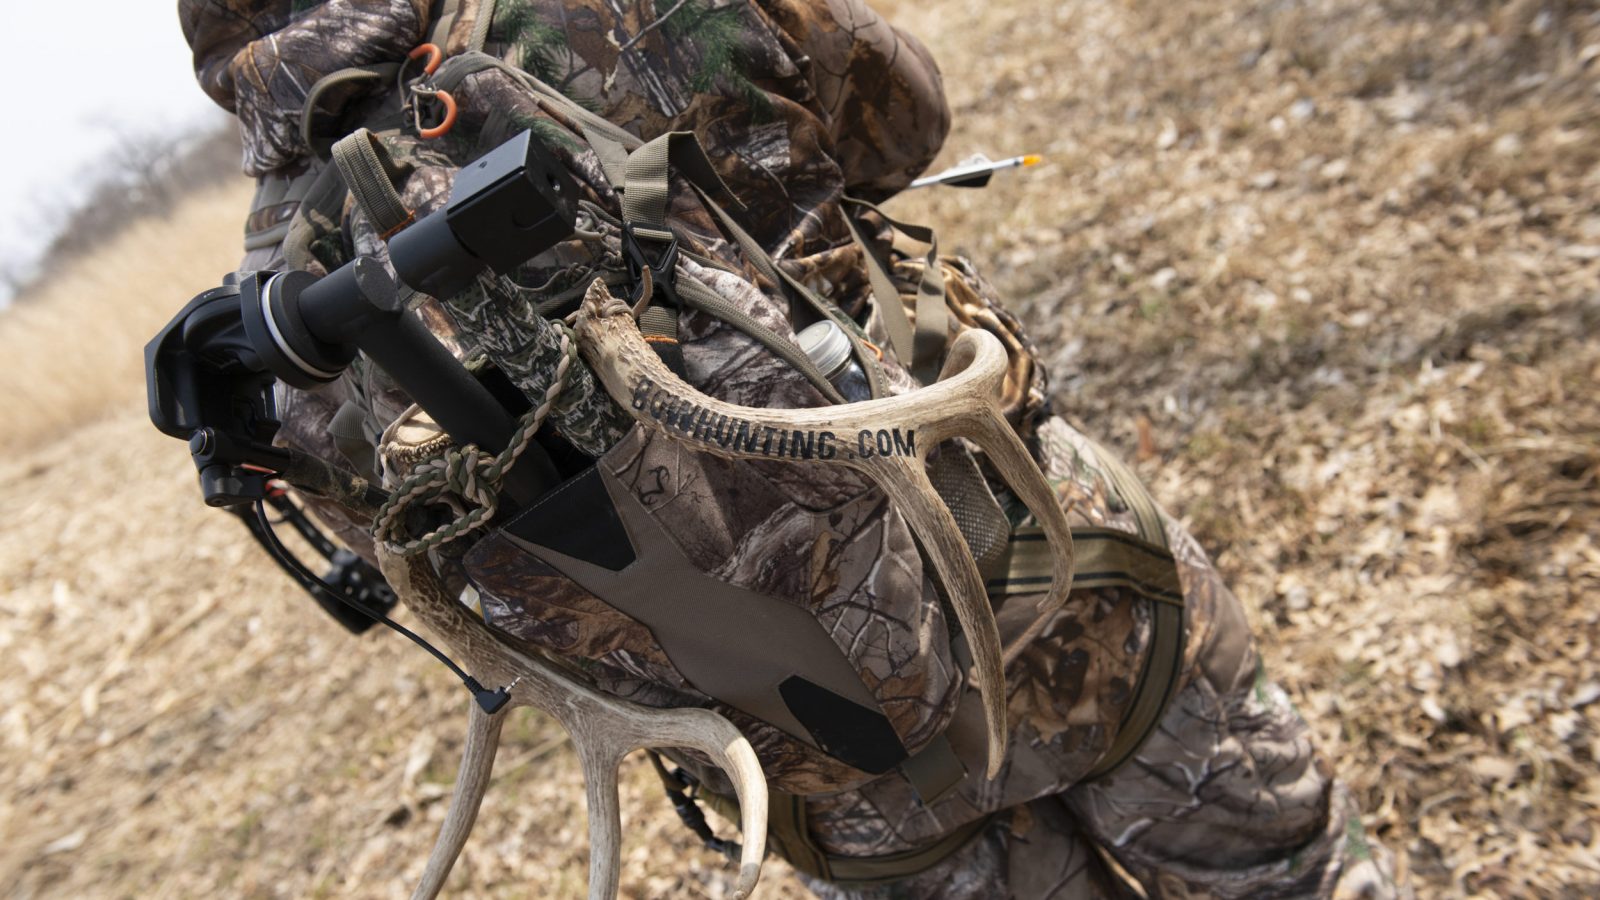
Packing your gear into the field will be a process that improves with time. In due time one will realize what works and what doesn’t. Don’t be afraid to try new ways to pack your gear and be creative.
One more thing, make sure have an extra hook to hang your bag nearby. You’ll want to have easy access to the bag throughout your hunt.
Go purchase a camera and get started! It’s a digital world and we want to see your story! Who knows maybe we will see you on Bowhunt or Die! Best wishes this season and be safe.
Want to know what the best camera gear is for hunting?


