Looking back on my early days as a bowhunter, I sometimes wonder how I ever managed to kill a deer. Growing up in a family where no one hunted, I didn’t get a lot of guidance when it came to hunting or shooting a bow. Fortunately my parents supported me in all my endeavors and bought me my first real compound bow from a local hardware store when I was 14 years old — a Pearson Renegade. I didn’t give it any thought it at the time, but I was never measured for proper draw length, draw weight, or peep height, and since it was purchased as a gift, I wasn’t there to be shown the proper way to adjust or shoot the bow. I was on my own. Everything I learned during those early years was by trial and error; and let me tell you, there were plenty of archery mistakes and errors!
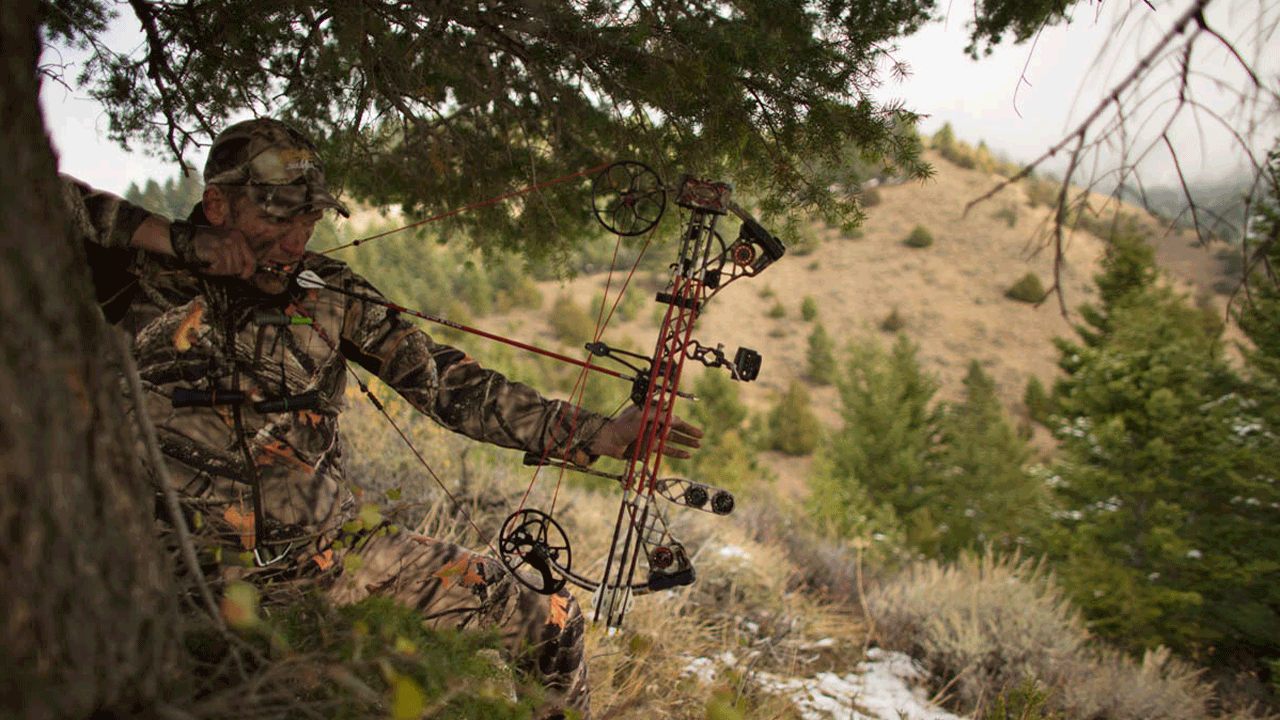
Success in the field begins at home and on the range. Have you eliminated the mistakes keeping you from success?
That was over 30 years ago. It took several years of learning and struggling before I was finally able to have consistent success with a bow. In the years following, I was able to kill my share of deer and do pretty well at the occasional 3D shoot. It wasn’t until recently, when I got serious about competitive archery, that I really started to analyze every detail of my form in the hopes of becoming a more consistent and successful shooter. I quickly realized I had a few critical flaws that had followed me throughout the years — ones that probably contributed to more than one miss or less-than-perfect shot on a deer. I also realized I wasn’t alone.
The more I shoot with guys at local archery shops and 3D ranges, the more I see I’m not the only one dealing with these same issues. Now that I’ve learned, I notice a handful of consistent mistakes made by fellow bowhunters and archers. Let’s take a look at five of these common archery mistakes and how you can start working to correct them.
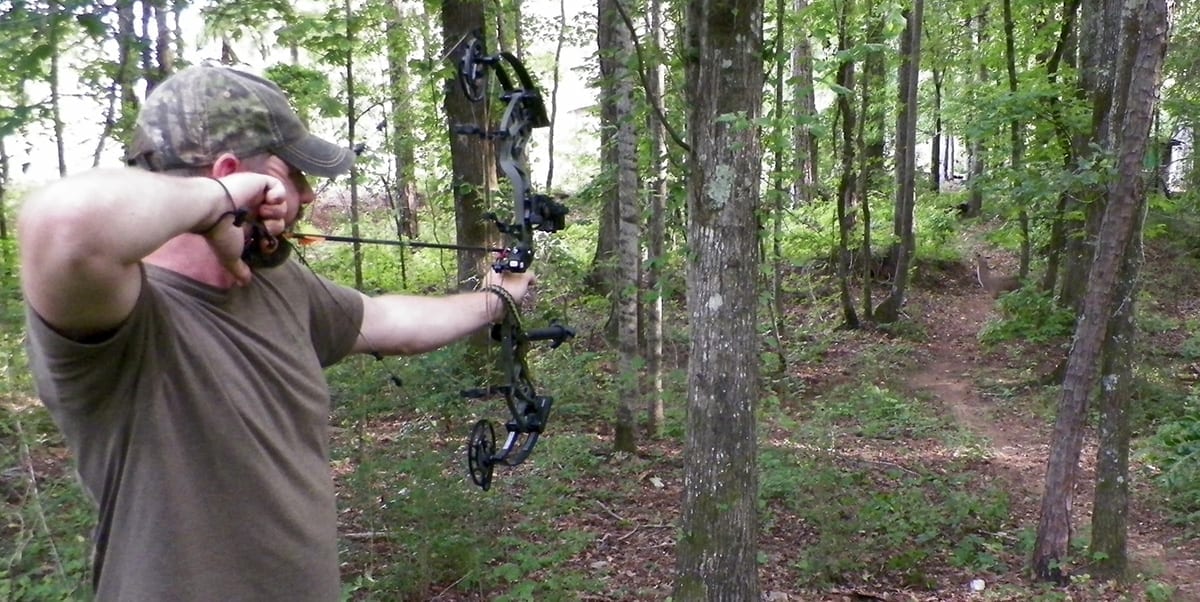
Time on the 3D range will reveal the mistakes in your shooting form.
Incorrect Draw Length
To this day, I still have no idea what the draw length was on my Pearson Renegade or whether it was too short, too long, or by some miracle, just right. Back in those days, I didn’t have the benefit of Google and YouTube to guide me in adjusting my bow to fit me. But even with the wealth of information available to bowhunters today, I still see a high percentage of bowhunters shooting incorrect draw lengths. Some, like myself, just don’t know any different because that’s the way they’ve always shot. Others have purposely chosen a longer draw length to squeeze every last bit of speed they can out of their bow, or perhaps a shorter draw length to steady their aim.
Can you shoot well with an incorrect draw length? Sure. But could you shoot better with your draw length set correctly? Absolutely. Consider that if your draw length is too long, you’ll likely have an inconsistent anchor point, overextend your bow arm, and have a harder time steadying your bow. On the other hand, a shorter draw length will hold steadier, and you may shoot quite well with it, but you’ll never shoot to your full potential. And a short draw length can lead to shoulder troubles down the road.
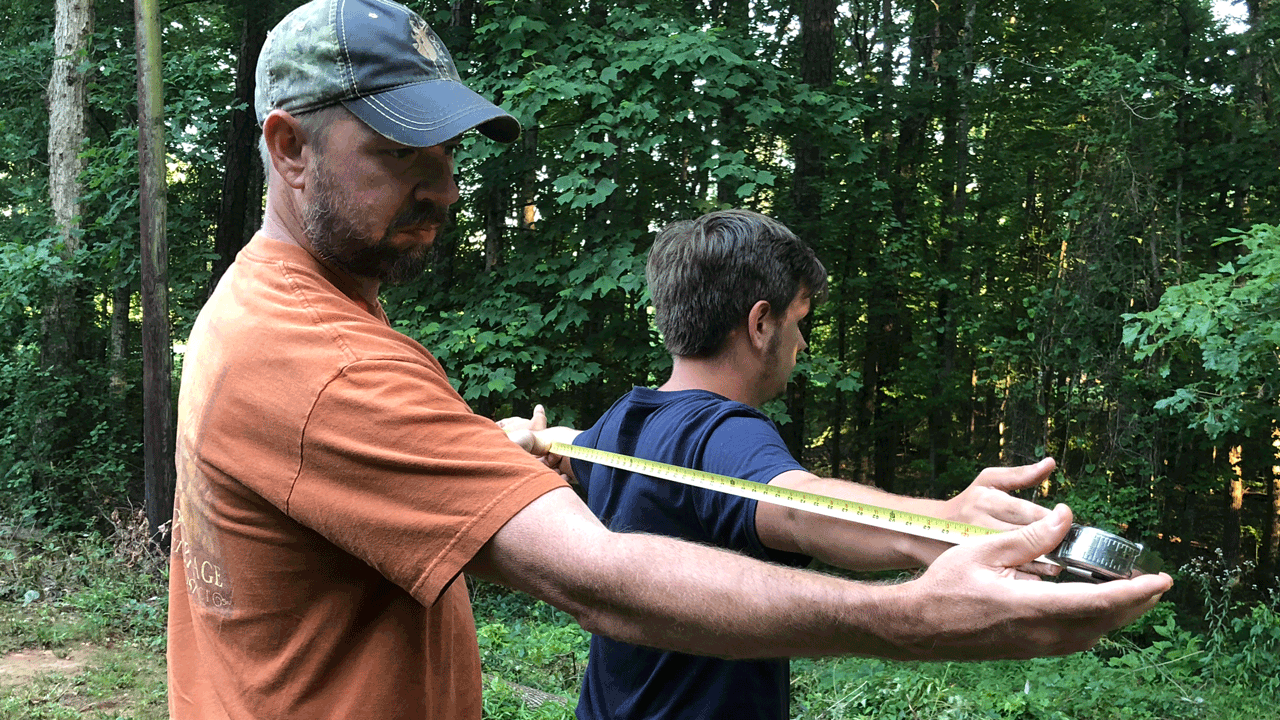
A lot of shooters make the mistake of shooting an improper draw length.
So how do you ensure you’re shooting the correct draw length? You can get a good starting point by standing with your arms stretched out to each side, fingers fully extended. Have someone measure from the tip of one middle finger to the tip of the other. Take that figure and divide it by 2.5. The result should be pretty close to your correct draw length. The best way to get your true draw length, however, is through a visit to your local archery pro shop where you can shoot bows set to various draw lengths to find the one that fits you best.
Get a Grip
For years I gripped my bow like a baseball player grips a bat — with all five fingers wrapped tightly around it in a death hold. I had no idea I was doing anything wrong, because no one told me otherwise. But bows aren’t made to be held like baseball bats. In fact, if you’ve ever suffered the dreaded forearm string slap, there’s a good chance you weren’t gripping your bow correctly. Most archers grip their bows too tightly, which causes them to torque the bow, resulting in inconsistent arrow placement.
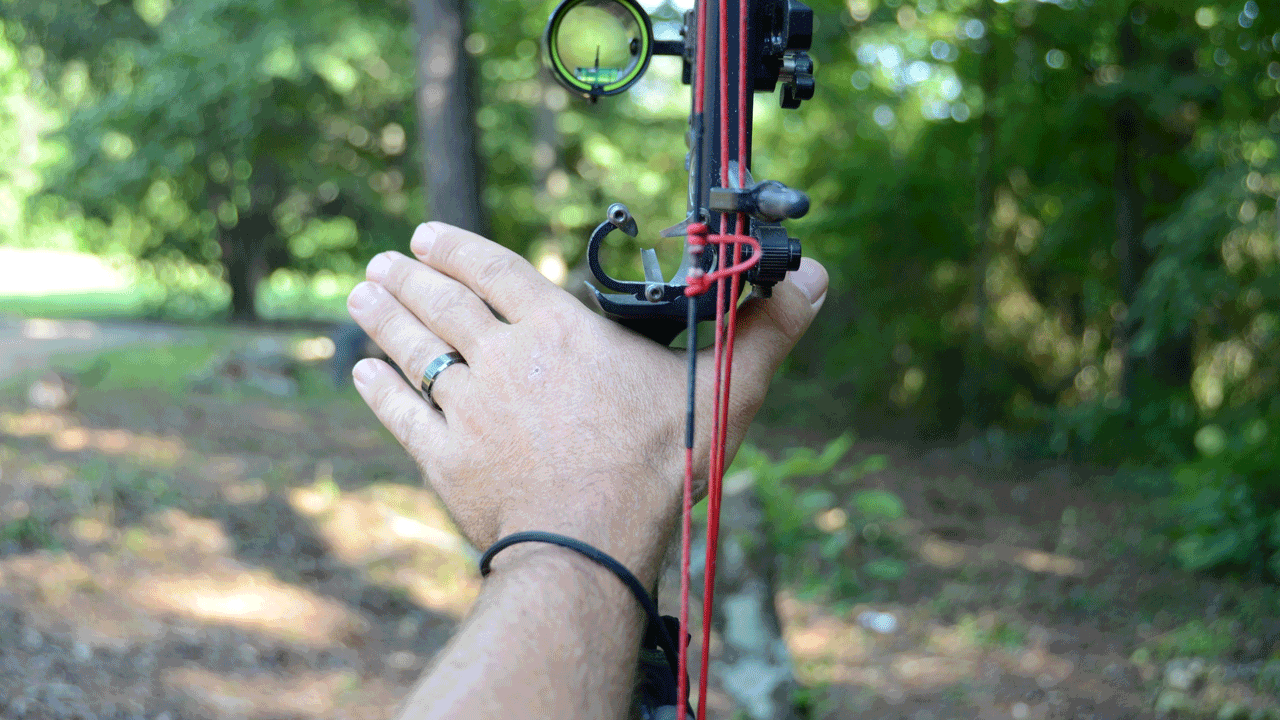
The way you grip your bow can make or break your shooting success.
To grip the bow correctly, hold your left arm out in front of you (for right-handed shooters) and give a thumbs up. Now turn your thumb to the 2 o’clock position and extend the rest of your fingers straight out. The grip of the bow should set right in the V between your thumb and index finger and lay along the meaty pad at the base of your thumb.
Keep your hand relaxed. You can lightly bring your fingers around so they touch the front of the bow, but there is no need to wrap your fingers tightly around the bow grip. The pressure of drawing the bow against your bow hand will keep it from falling. A wrist strap is a great way to give you reassurance that the bow is secure, so you can maintain a relaxed grip.
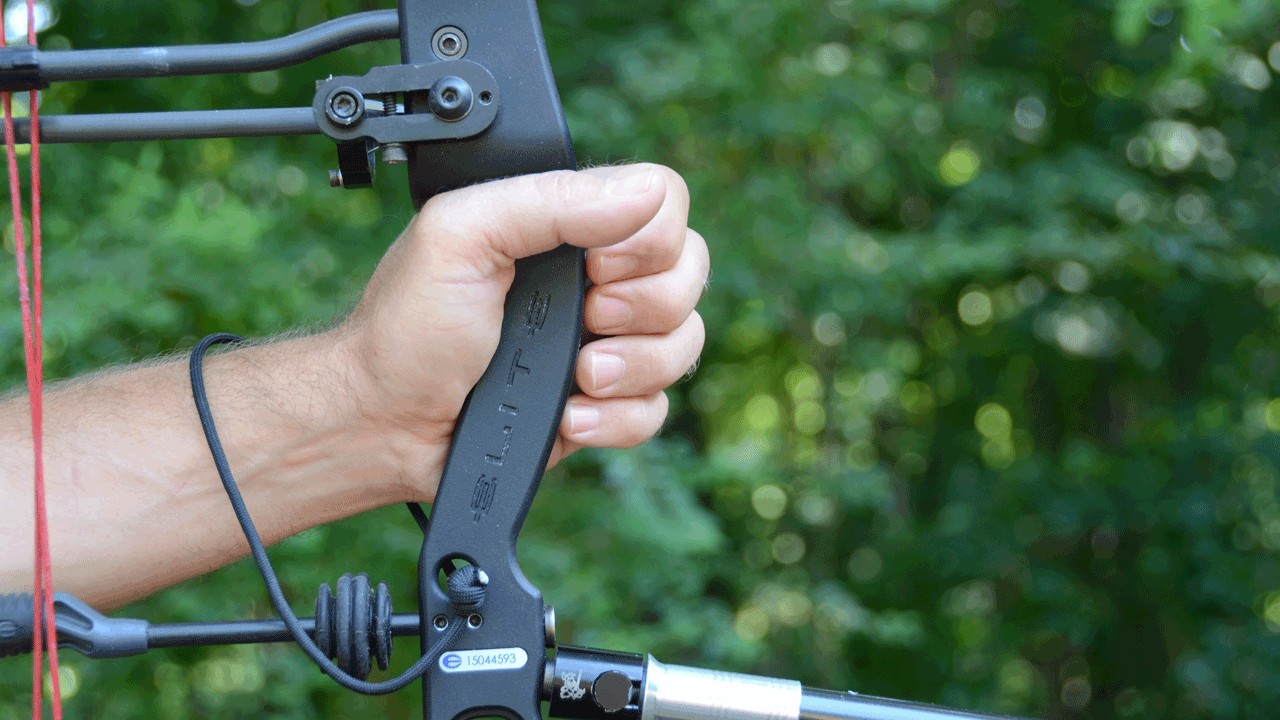
Do you shoot with a death grip or relaxed hand on your bow?
Inconsistent Anchor Point
The key to being a great archer is pretty simple in theory — shoot the exact same way every time. Consistency is key in archery, and that means a consistent stance, grip, and certainly a consistent anchor point. Any minor change will have an impact on your shooting.
This was a major struggle for my teenage daughter when she started shooting 4_H archery last year. One day she would shoot great for one round, and the next round her point of impact would be in a completely different spot. At first I thought it was an equipment issue, but soon realized her anchor point was drifting around on the side of her face.
So how do you ensure a consistent anchor point? A lot of archers use kisser buttons on their string that they bring to the corner of their mouth when they anchor. There is nothing wrong with that method, but I’d recommend taking it a step further and maintaining three points of contact when you shoot. One can be the string at the corner of your mouth — with or without a kisser button or serving knot. Secondly, I make sure the bow string is lightly touching the tip of my nose. And most importantly, I anchor my first and second finger knuckles on the edge of my jawbone. Every time I shoot, I make sure all these points of contact are maintained. Now you don’t have to have the same anchor point as I do. Just find one that is comfortable and repeatable.
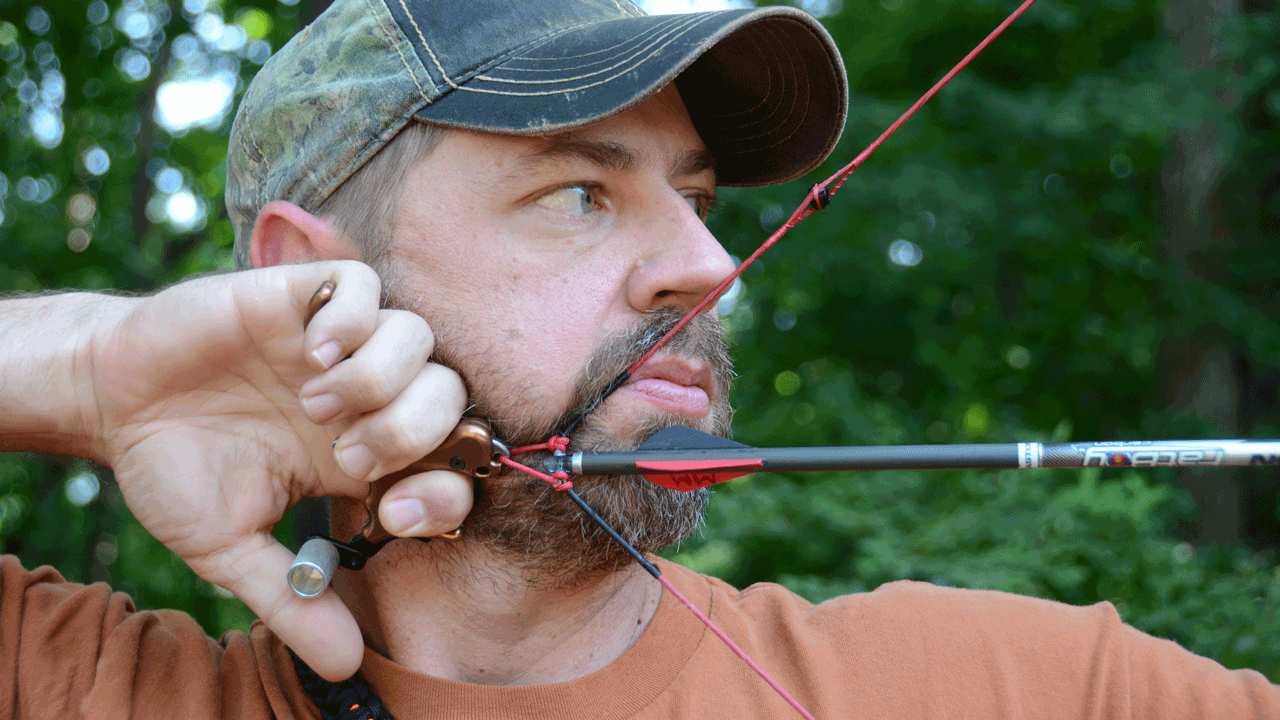
Consistency is the key to archery success, particularly in your anchor.
Punching the Trigger
For years, I heard and read about shooting with backtension, but I never fully understood the concept. I thought backtension was a type of release that competitive shooters used. But backtension isn’t a type of release at all. It’s a a method of shot execution. Any style release can, and should, be shot using back tension. It doesn’t matter if you shoot an index, thumb, or hinge release. The problem with punching the trigger is it creates movement in your shot, and it can lead to target panic, which is a whole other topic in itself. For the sake of this article, just know you DO NOT want to deal with target panic.
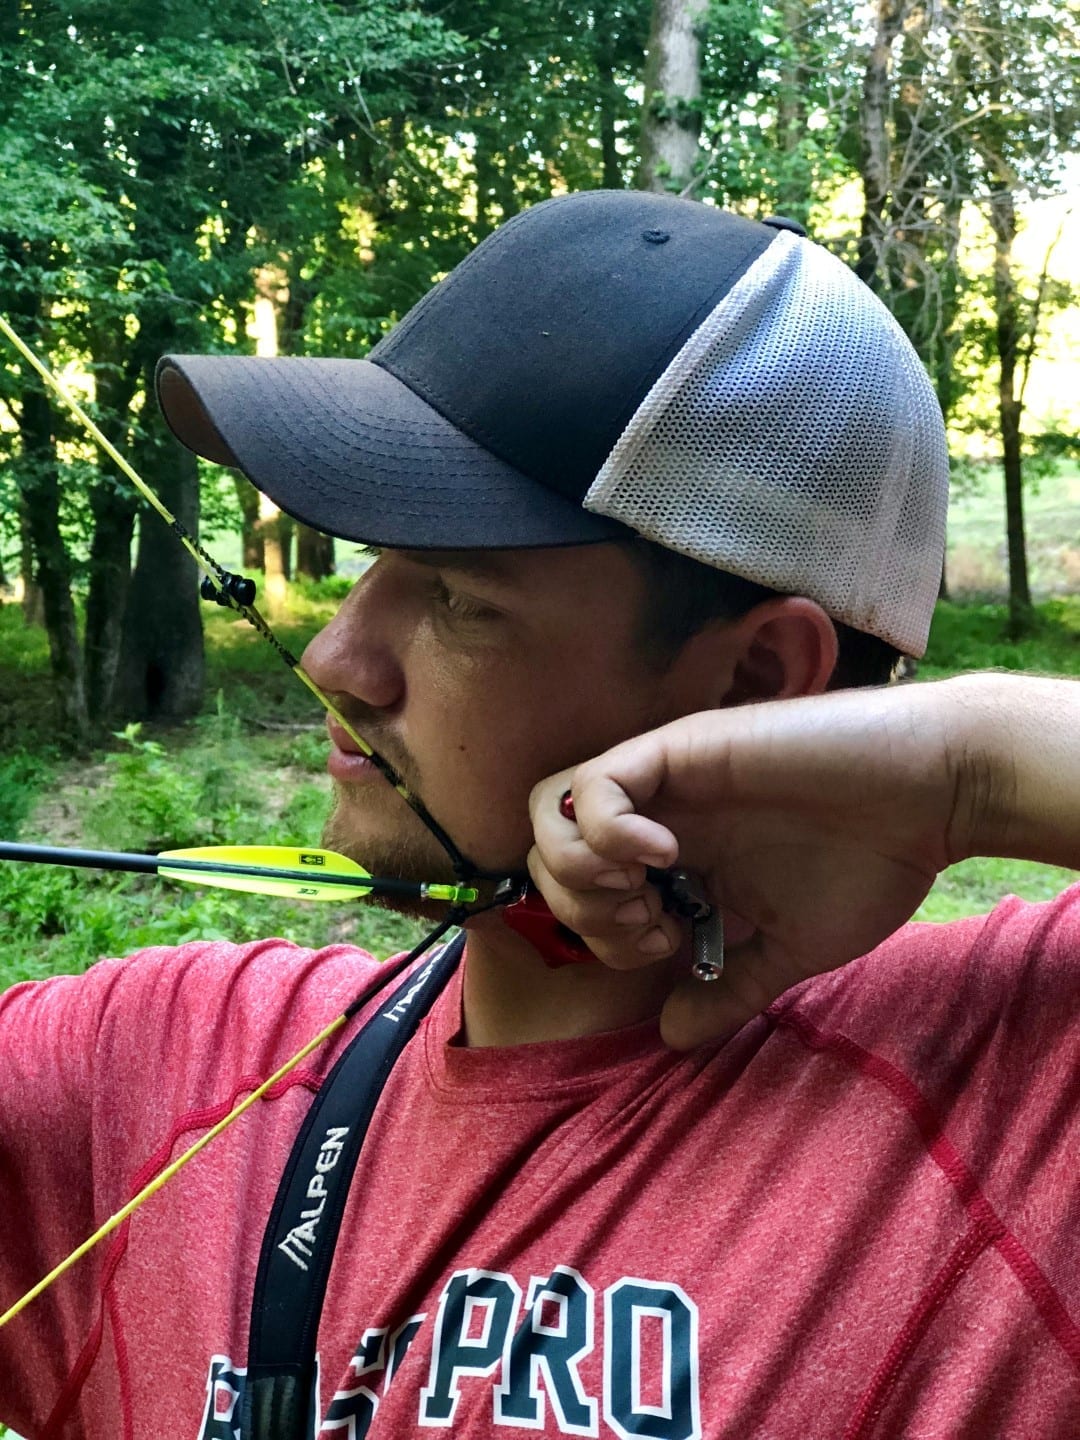
Punching the trigger and poor follow through are two of the deadly sins when it comes to properly executing the shot.
The topic of shooting with backtension could also fill an article in itself, and is probably better explained through video or personal coaching. I’ll give you a brief overview, however. When you draw your bow back and your draw arm locks into place at full draw, you should feel the tension of holding the bow in your back muscles. At this point, you place your index finger or thumb on the release’s trigger — depending on which type of release you are using — with just a light amount of pressure. Now, rather than “pulling” the trigger with your finger or thumb, use your back muscles to slowly bring your entire draw arm back. As it moves back, it will give you a nice, smooth surprise release. That’s what you’re looking for.
I can tell you from experience, if you’ve always punched the trigger, mastering the use of backtension will take some time. I will also warn you that you’re shooting will actually get worse before it gets better. You’ll probably be tempted to say “forget this” and go back to your old way of shooting, but don’t! Once you master the use of backtension, you’ll be a much better shot for it.
Not Following Through
One of the hardest things to do after releasing your bow string is to maintain your point of aim until the arrow impacts the target. It’s something I still have to make a conscience effort to do. The natural tendency is to to drop your bow arm to see where your arrow hit. But even with the blazing speeds of today’s bows, this failure to follow through can alter your point of impact. It’s a simple fix, but one that requires consistent practice with a focus on making a conscience effort to keep your aim on the target until you see your arrow make impact.
In Summary
It doesn’t take perfect form or shot execution to kill deer. I’m living proof of that. But I’ve also suffered my share of misses and less than perfect shots over the past 30 years, many of which could have been avoided. The good news is there are lots of great articles and videos available these days to help you work on the various aspects of your shot. Just make sure you are focusing on all these potential problem areas when you practice. Of course, the best way to perfect your form and technique is to work with a good archery coach through a local pro shop. Don’t let one of these five common archery mistakes cost you a great buck this fall.

 By
By 


