LAST UPDATED: June 21st, 2021
Nothing in the world of bowhunting will crush you like the following scenario. You plan for months and years. You put in food plots or scout and narrow thousands of public-land acres down to a 20- by 20-yard sweet spot. Season opens, and you spend hours and hours in a treestand or ground blind.
Finally, two months after the season opener, a large buck appears less than 30 yards from your ambush. You draw back, aim and shoot. Your arrow sails right over his back. You bury your face in your hands, cuss under your breath and feel an overwhelming sense of failure.
Unfortunately, that scenario plays out more than anyone realizes all around the world. While we’re human beings who can’t perform perfectly every time, we can certainly work hard and tighten up our accuracy, even when stacked with the pressure of a hard-earned shot opportunity.
The following are 10 ways to immediately improve your accuracy. Let’s review.
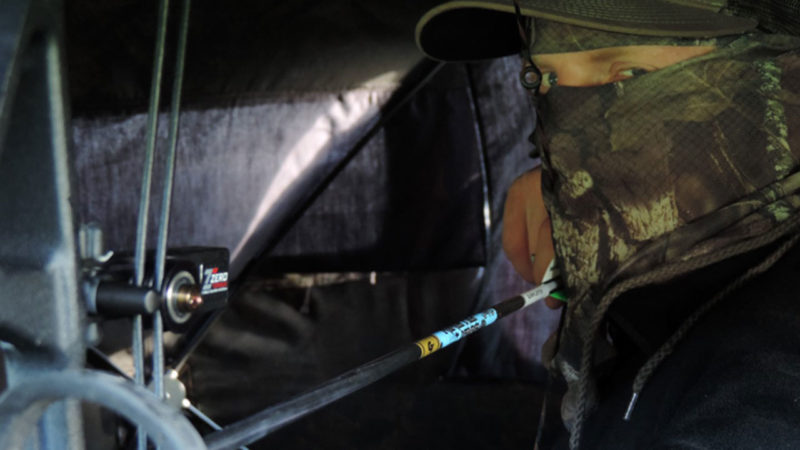
1. Adjust Your Draw Length
A common mistake bowhunters make is buying a bow with an incorrect draw length. Worse, most don’t even realize it. They reason that their instability, string slap or other problems they’re experiencing are just personal problems they must resolve.
In actuality, incorrect draw length is creating these problems. Even a half-inch too short or too long can rob accuracy.
If you’ve been struggling on any level with your shooting, visit a well-trained bow technician at an archery pro shop. Have him or her measure and evaluate your current draw length.
Besides the wingspan method of determining draw length, other things that affect draw length are shooting form and release style and length. Don’t just go with what feels OK. Make sure to get it right so that you can maximize your accuracy and reduce frustration.
2. Install a Sidebar Stabilizer
Newsflash: Bow-mounted accessories like a quiver, bow sight and arrow rest add weight to one side of your bow.
Naturally, your bow will lean in that direction as you aim. You’ll often fight your bow sight’s level, possibly even questioning if it’s correct.
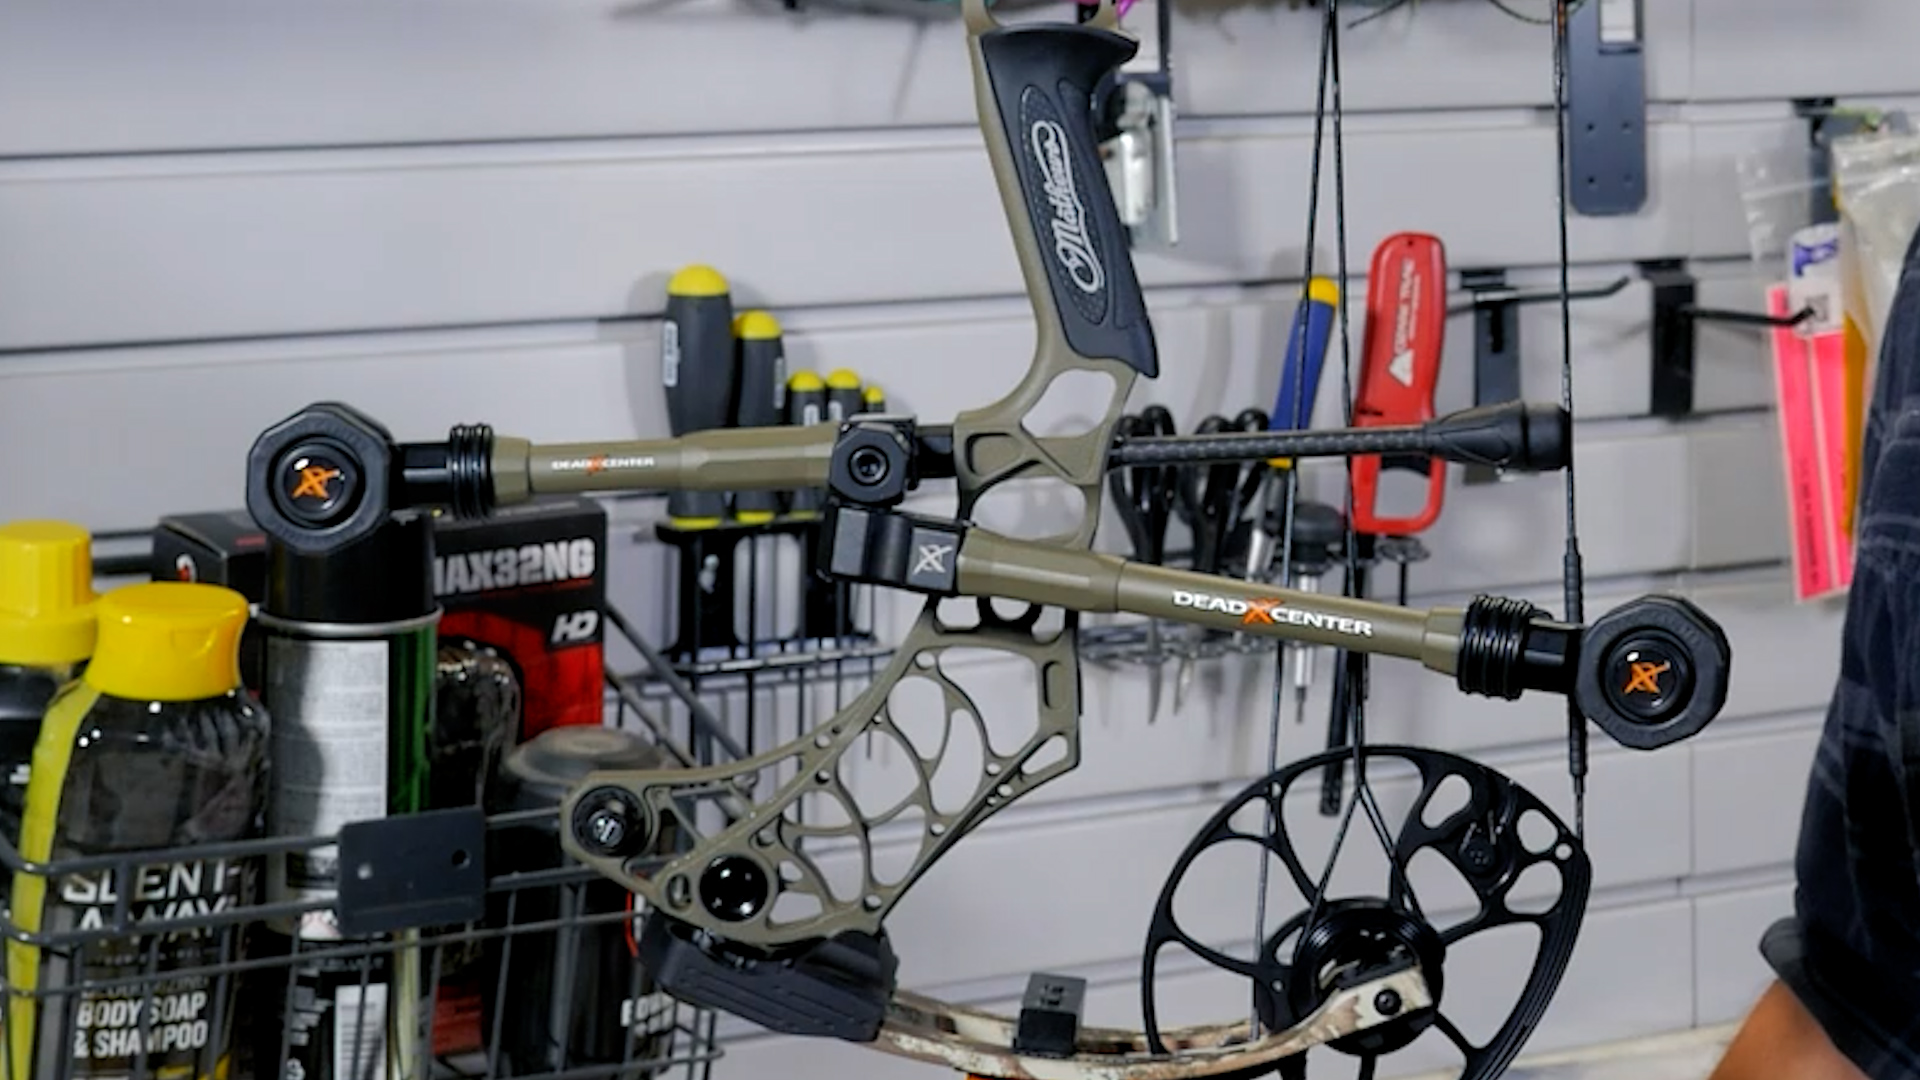
This is easily solved by adding a sidebar stabilizer. Kicking weight to the opposite side of the bow will counterbalance your bow-mounted accessories on the opposite side of the riser.
It will improve your aiming stability, because you won’t be fighting the bow. There are great sidebar brackets like Dead Center’s Dead Level Hunter Verge Kit.
3. Add Anchor Point References
Shooting from various angles and while wearing different types of clothing makes it more difficult to maintain the same, consistent anchor point. This, of course, will affect your accuracy and consistency to some extent, maybe even drastically.
A simple kisser or nose button like the Bowmar Nose Button will provide an anchor-point reference so that you can find your familiar spot, regardless of what you’re wearing.
4. Shoot a Hinge (Back Tension) Release
Target panic and trigger punching are some of the likeliest culprits to inconsistent arrow groups. Even folks who don’t struggle with these stressors when target practicing experience them while shooting at game due to the added pressure.
Yes, there are training techniques to beat them, but one of the most effective is switching to a hinge (aka – back-tension) release aid.
A hinge release cannot be punched, so it causes your brain to slow down and process a shot opportunity differently. Since most folks currently shoot index-finger releases, switching to a handheld hinge release can be a big leap.
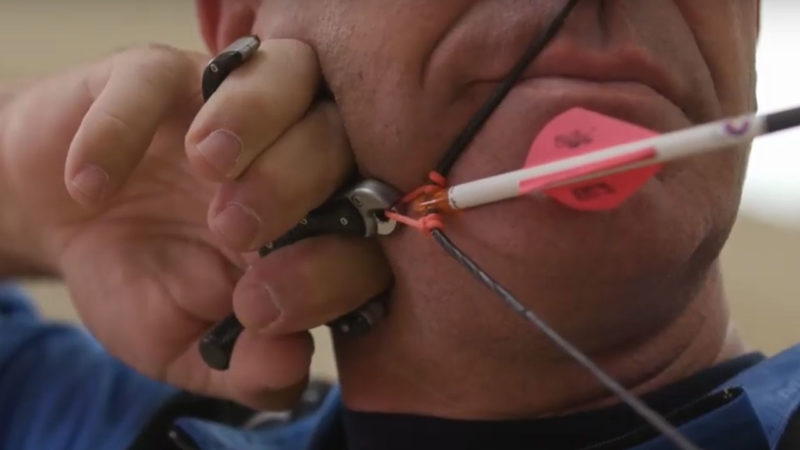
Plus, there’s fear of not being able to execute a fast shot in a bowhunting situation. Yes, that’s possible, but missing out on a shot and having to let down is better than punching the trigger before your pin is on the animal’s vitals.
When you focus on aiming and let the release surprise you, you’ll begin to improve your accuracy. A hinge release can help you get there.
5. Reduce Draw Weight
Are you under the impression that you must shoot 70 pounds even though you struggle to pull it back 20 times in a row? If so, you’re believing a lie. Bows set to 40-50 pounds kill lots of deer and even elk with well-placed shots. If you’re struggling to pull your current draw weight for 20 arrows, it’s time to reduce your draw weight.
When you shoot too much draw weight, your muscles will begin to fatigue, and you’ll start making mistakes without even realizing it.
Your form begins collapsing, your sight picture becomes shaky and your arrows start spraying all over the target. In contrast, when you shoot draw weight you can handle, you’ll last longer and shoot better because your muscles won’t fatigue so quickly.
6. Buy Truer Arrows
Shooting cheap sporting-goods store arrows and can’t group like your buddy who’s shooting pro-shop-built arrows? It’s time to upgrade.
Study specs and choose arrows with a straightness rating of +/- .001 inch, such as Easton’s 6.5MM Carbon Match Grade. Have your local pro shop match your bow with a correctly-spined shaft and then build them from scratch.
Arrows with subpar specs will often group well at short distances, say, 30 yards and in.
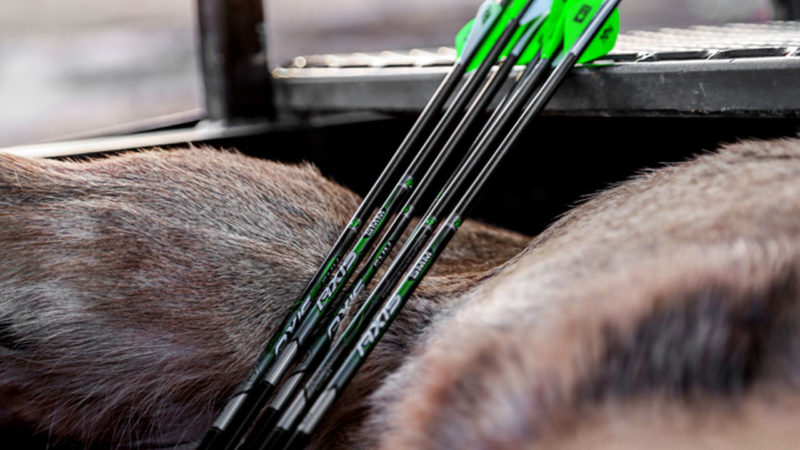
But, as you stretch out their legs and shoot at 60 yards, their poor specs will make it difficult to group well, and that becomes truer with broadheads — the additional surface area of blades affects the arrow’s flight profile, thus magnifying inconsistencies from arrow to arrow.
On the other hand, true arrows with tight specs will group consistently.
7. Make Sure Your Bow is Tuned
Most average bowhunters don’t understand what it means to have a tuned bow. In other words, they think that if their bow is sighted in that it’s tuned.
Tuning has everything to do with how the arrow leaves the bow. When it leaves true, the bow is tuned. When it doesn’t, the bow is not tuned.
If you haven’t recently taken your bow to a pro shop for a check-up, do it. Have them check the tune and correct any problems they find that could be impeding your accuracy or consistency.
8. Correct Your Stance
A common flaw many archers make is walking up to a target, nocking an arrow and shooting. They give little thought to their stance. If your stance is incorrect, the rest of your shooting form will likely suffer.
Position your back foot 90 degrees to the target and position your front foot approximately 75 degrees to the target and about a shoulder’s width apart from your other foot. Experiment from there to find what best suits you, but that stance works well for most archers who actually use it.
9. Install a Custom Grip
A bow grip is the vital connection point of the bow to the archer’s hand. How it fits will largely impact accuracy and especially consistency. If you don’t love your bow’s standard grip, shop the market for a custom grip designed to improve comfort and reduce torque.
If you’re shooting a 2019-or-newer Mathews and don’t love the stock grip, consider ordering Mathews Engage Side Plates or the sweet new Bee Real Grip by UltraView Archery, which I’m currently using on my Mathews VXR 28.
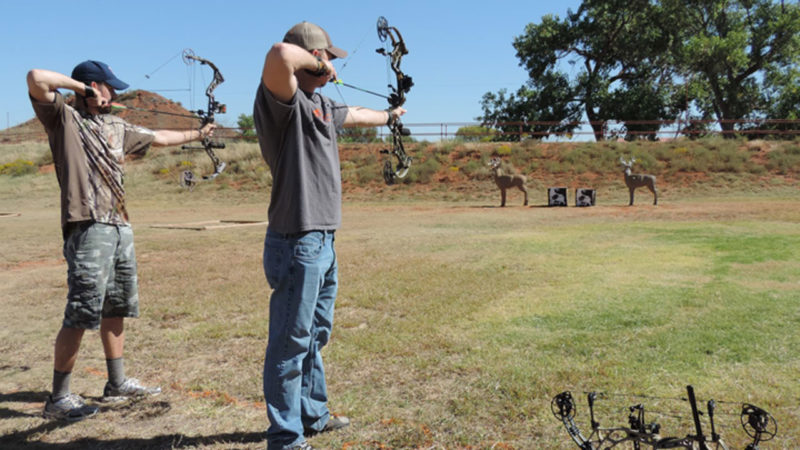
10. Shoot Under Pressure
If backyard practice is your only practice, your confidence could easily crumble the moment you draw back on a live animal. This is because your only practice involves zero pressure and zero consequences if you miss or shoot poorly.
You’ll develop confidence when you shoot under pressure with others watching you. Attend a 3-D shoot and try to pair up with a stranger to shoot the course. Having someone unfamiliar watching you shoot adds pressure, and if you shoot well with that pressure, your confidence will soar.
I also suggest attending 3-D shoots that have courses set up in difficult terrain and with obstructions.
These aspects are realistic to actual hunting conditions, and when you ace your shots amidst these challenges, you’ll benefit greatly and improve your bowhunting accuracy and confidence.
Conclusion
What about you? What shooting flaws do you struggle with the most?
Comment below and let us hear from you on your struggles in the past and what you’ve done to correct them.

 By
By 


