Finding wounded game is a responsibility of every hunter, but you learn some techniques only through experience and those lessons come at the cost of many hours spent on the trail.
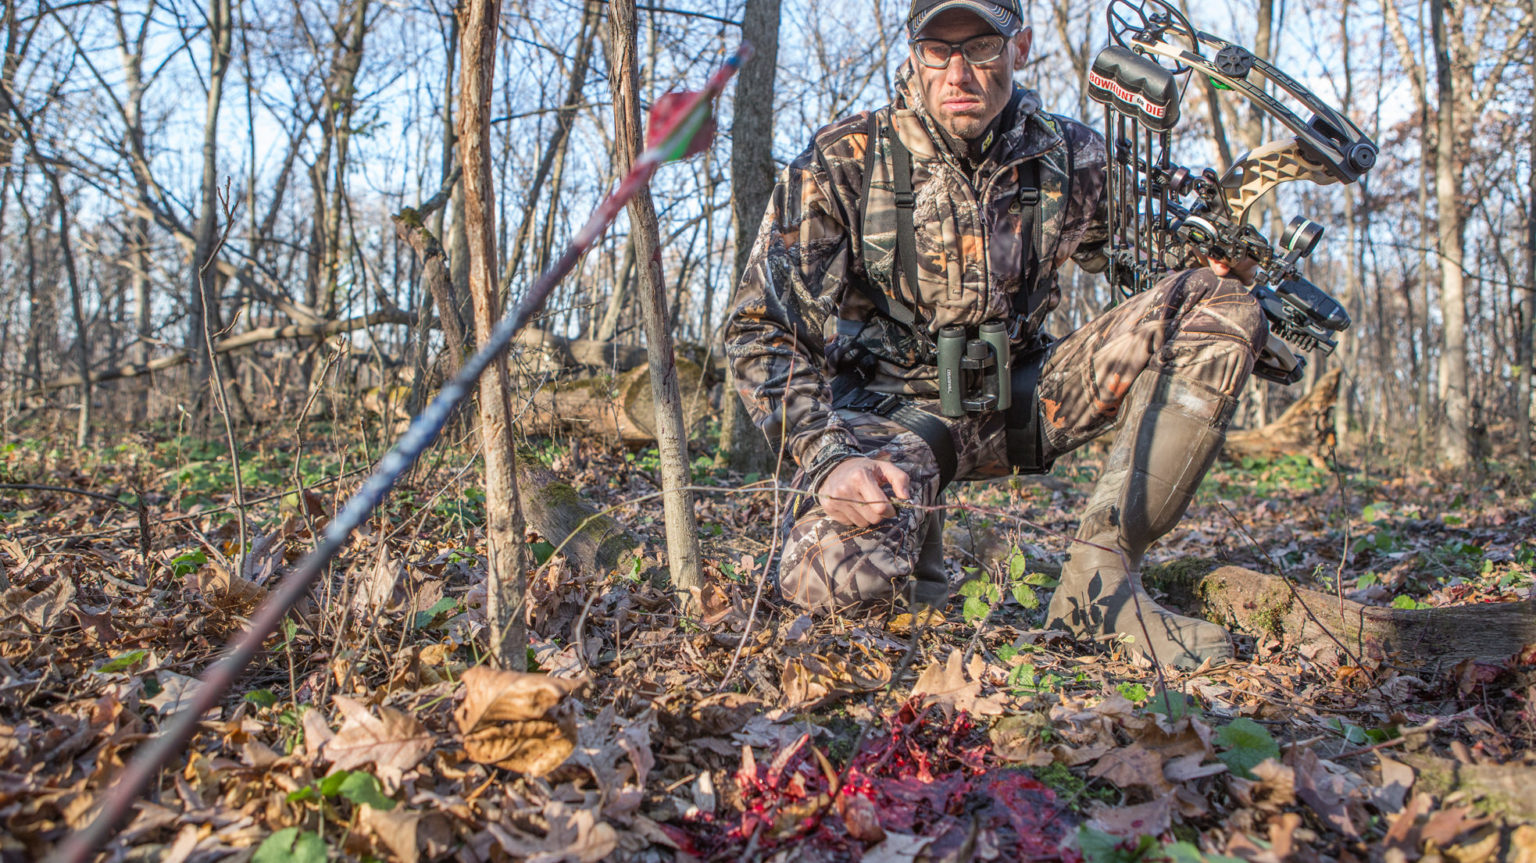
Rather than having to learn these important lessons the hard way, we’ve compiled them here so you can move up the learning curve quickly.
1. Limit Your Help
Two or three trackers are ideal for most recoveries. With three trackers, one can stay behind to mark last blood or work out the trail drop-by-drop as the other two move ahead, looking for large drops of blood along the path the deer used.
With two trackers, only one should move ahead while the other stays back to work out the details. However, the lead tracker should never get too far ahead – 20 to 30 yards – before he starts to work his way back to the last blood.
Any more than three trackers can cause confusion, create excessive noise, and possibly ruin sign that may be helpful in recovering your animal.
2. Stay On Stand. Watch & Listen
After the shot we often want to get down right away and begin looking for signs of the animal. Unless you see the animal expire within sight, the best thing to do is wait at least 30 minutes, if not longer, before getting down.
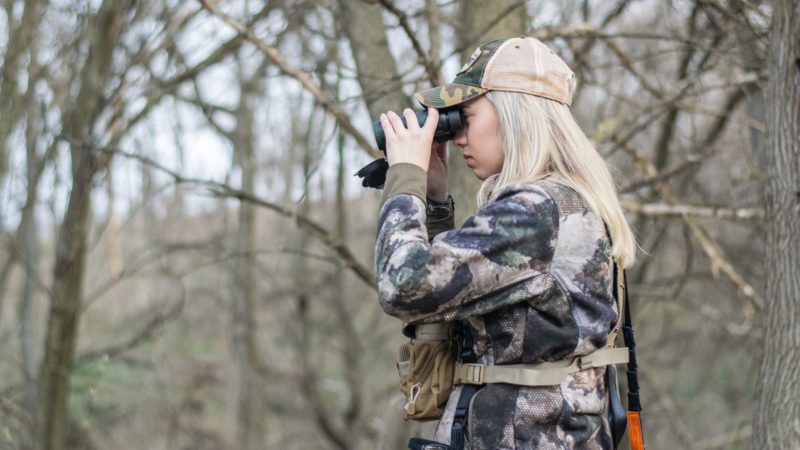
While you wait it out after your shot, compose yourself and spend your time watching and listening for anything out of the ordinary.
It’s not uncommon to hear a wounded animal coughing, thrashing in the brush, or even spot them cutting across a distant clearing or field. The more information you have before taking up the trail, the better.
3. Sneak Away From Your Stand
I hunted with a guide named Jim Perkins several years back on a hunt in Louisiana. Jim has guided deer hunters all over the South and has been on nearly 1,500 blood trails.
He believes that the number one reason an otherwise recoverable deer gets away is that the hunter leaves the stand and walks the wrong way.
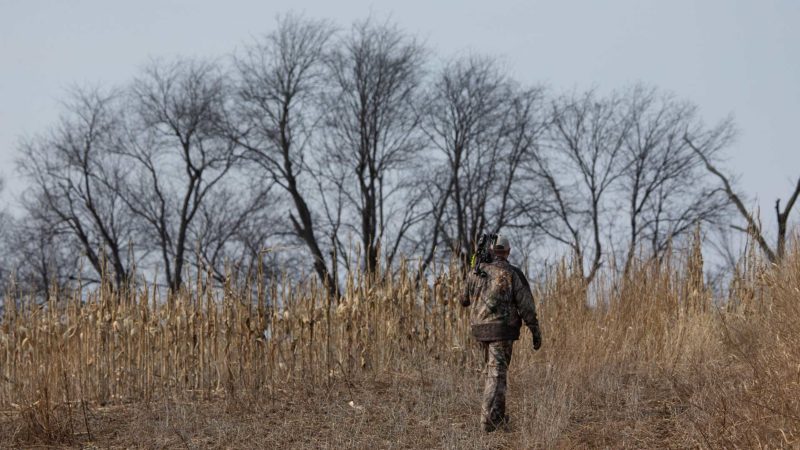
Rather than sneaking away from the stand in the opposite direction the deer ran, the hunters walked too near the wounded deer and jumped it. Worse yet, in some cases they took up the trail immediately upon climbing down from their stands.
Make sure you watch the direction the deer runs after the shot, and try to avoid that area on your way out of the woods. In some cases, this may mean walking well out of your way. The short-term inconvenience is well worth the price if it means a better chance of recovering your animal.
4. Use Good Lights For Night Tracking
I don’t do a lot of night time blood trailing unless the temperature is warm and threatens to spoil the meat, or unless coyotes are a factor. Of course, if the hit is known to be good, I’ll also trail those deer in the dark.
For many years, experienced deer trackers have advocated for use for lanterns for after-dark recoveries. Lantern light seems to illuminate blood much better than a standard flashlight. Rather than focusing a small, bright beam in a small spot, the lantern illuminates a larger area, making blood easier to spot.
If you don’t have a lantern available, there are a variety of great flashlights on the market that will certainly suffice. Try to select an LED powered light that will last for many hours if needed.
5. Don't Give Up On The Blood
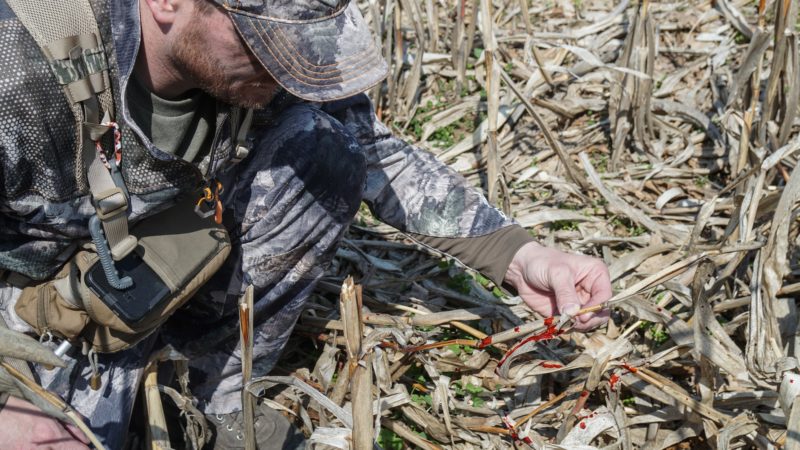
I’ve always felt that the first step in losing the animal is to give up on the blood trail. Impatience is a common reason for abandoning the trail.
I can’t tell you how many blood trails I’ve been a part of where the person who had shot the animal wanted to immediately begin looking for the carcass as soon as the blood trail became sparse. You should not abandon the blood until you’ve exhausted every possibility.
Wounded big game animals are unpredictable and can change directions seemingly for no reason. If you abandon the blood too quickly you risk missing a twist or turn in the trail that would take you to the carcass much more easily.
One tip I’ve found helpful through the years is to let the other trackers take the lead if the blood trail becomes difficult to follow. They are less emotionally involved and tend to be more methodical and patient when looking for blood.
If necessary, leave the shooter behind to mark last blood and calm his nerves.
6. Know Where You Hit The Animal
It is critical that you know as closely as possible where you hit the animal before deciding what to do next.
Start by using brightly colored fletching or a lighted nock, and watching closely where your arrow impacts the deer. Seeing where your arrow hits is the first step towards deciding how quickly to take up the trail.
Second, pay attention to the animal’s reaction once it is hit. The majority of the time when a deer is shot through the heart or lungs it will “mule kick” and run off with it’s tail tucked. You may also hear a hollow thump on impact.
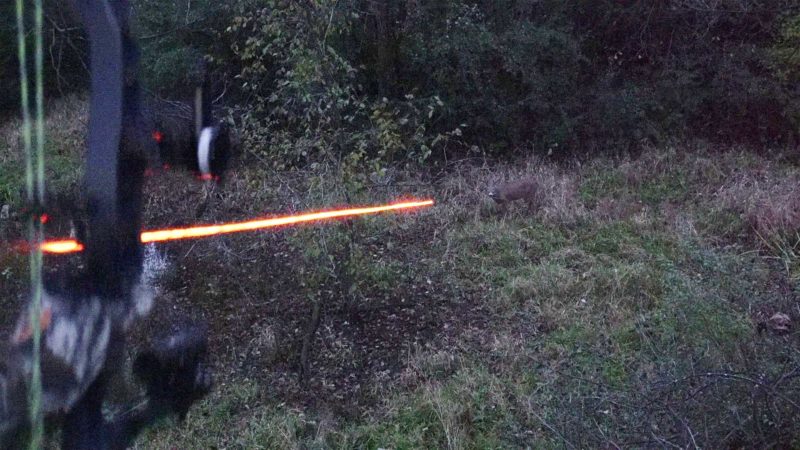
If the animal runs away with it’s tail up, or runs off a short distance then stops and walks away, those are generally signs of a poor hit and a good indicator that you should wait several hours before pursuing him.
Be careful not to read too much into the body language of struck game as it can be misleading and isn’t always the same. Take into consideration other factors when deciding when and how to take up the blood trail.
First, you can look at the blood and hair that you find where the animal was standing. Bowhunters can study the arrow on a pass-through hit.
7. Inspect The Arrow
After getting down from your stand or out of your blind, recovering your arrow is the next important thing to do before taking up the trail. Closely inspect the arrow to try and confirm the type and location of your hit.
Lung and heart shots will often leave pink, frothy blood on the arrow. The presence of air bubbles typically indicates a lung shot and is a good sign pointing towards and quick and easy recovery.
Liver shots may leave dark red blood, while “meat hits” will typically leave bright red blood with no bubbles that may be spotty along the length of your arrow. These shots may also leave deposits of fat or traces of meat on the arrow.
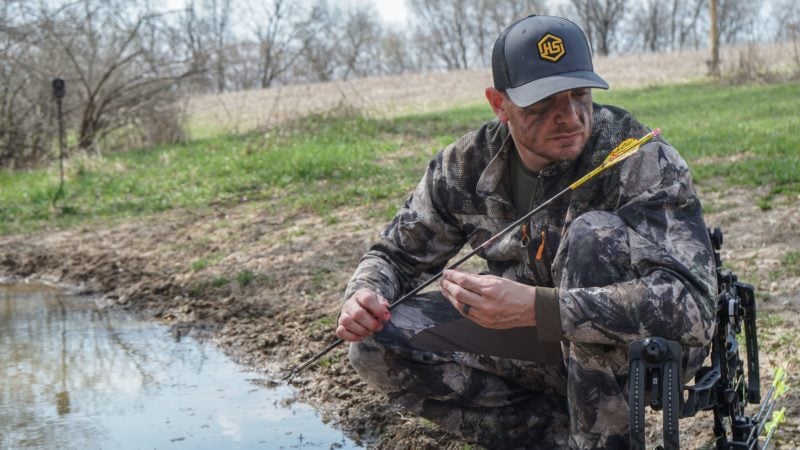
Paunch shots will often leave green or brown residue on your arrow that may feel slimy or have food particles in it. Paunch shots will usually have a foul odor as well.
If you have anything other than a solid coating of pink, frothy blood, it may be a good idea to wait several hours before taking up the trail – even if you thought the hit looked good. Our eyes will often deceive us. The evidence on your arrow will not.
Blood Types and Waiting Times
| Description of blood sign | Most likely source | Min. waiting time |
| Bright pink-tinted blood, possibly bubbles (profuse) | Heart or lungs, lung hit if bubbles are present | 30 minutes, immediately if you see the animal fall |
| Red blood (profuse at first) | Liver | Three to four hours |
| Reddish-brown blood, may show signs of fibrous matter (non-profuse) | Paunch | 10 to 12 hours |
| Bright red with pinkish-tint (profuse) | Artery | One hour, immediately if you see the animal fall |
| Dark red, may appear watery (non-profuse) | Muscle/bone | Follow-up immediately only if you are sure it was a muscle hit |
8. Wait To Take Up The Trail
It is extremely important to wait the proper amount of time for the type of hit made before taking up the trail. Use the chart above, along with the other information you collected such as where your arrow impacted the deer and how the deer reacted after the shot to determine what to do next.
In most cases, rushing makes an easy trail much more difficult and all too often results in the animal not being recovered. If you are going to err in your decision of when to follow-up on the trail, you are better off waiting a little too long than starting too soon.
As the old saying goes, “When in doubt, back out.”
9. Mark Your Last Sighting
Being able to find the exact location where you last saw the animal is a tremendous help if you are having a hard time finding a good blood trail. For this reason, you should take plenty of time to mark this spot mentally before climbing down from your stand.
Choose something distinct to use as a reference. I like to pick a specific tree or terrain feature – maybe a large fallen log or bend in a creek – to serve as a reference.
It never ceases to amaze me how much different the woods look from the ground than from 20 feet up in a tree. You should never take for granted that you can find the last place you saw the animal without marking it carefully before climbing down.
10. Wait When It Rains
Inclement weather may tempt you to take up a blood trail before the normal waiting period has expired. Resist this temptation.
My friends and I have proven that you are better off letting the animal die close to your stand even without a blood trail than to push it from its first bed, give it a fresh burst of adrenaline and then have the trail washout anyway.
Many hunters are also tempted to rush the job on public land in an effort to beat any claim jumpers. You should still wait for the normal amount of time for the animal to die.
11. Listen For Coyotes
I recovered the biggest buck I ever shot after waiting in the dark for coyotes to start yapping. I wasn’t sure of the hit and didn’t want to rush the job, so I decided to wait until the scavengers found him.
I would have found the buck easily the next morning because the hit was good, the blood trail was acceptable and only about 200 yards long, but I would have dragged out a skeleton. Instead, I listened and then swooped in when the coyotes found him and then lit up nearly seven hours after the shot.
If you doubt the quality of the hit you made and feel like you should wait before attempting the recovery, you will have to contend with coyotes in areas where they are abundant. Rather than taking a chance on losing the meat, consider taking a thermos of coffee and waiting on a high spot near your hunting area for the necessary time to elapse.
12. Always Carry Your Bow
I’ve made the mistake in the past of assuming a deer was dead when it wasn’t. When I came up on it alive without my bow, the situation became dicey. Now, I always carry my bow when trailing during daylight hours whether I think the animal is dead or not.
Be sure to check your local hunting rules and regulations for the legality of carrying a bow while tracking wounded game.
13. Have A Long-Range Sight Pin
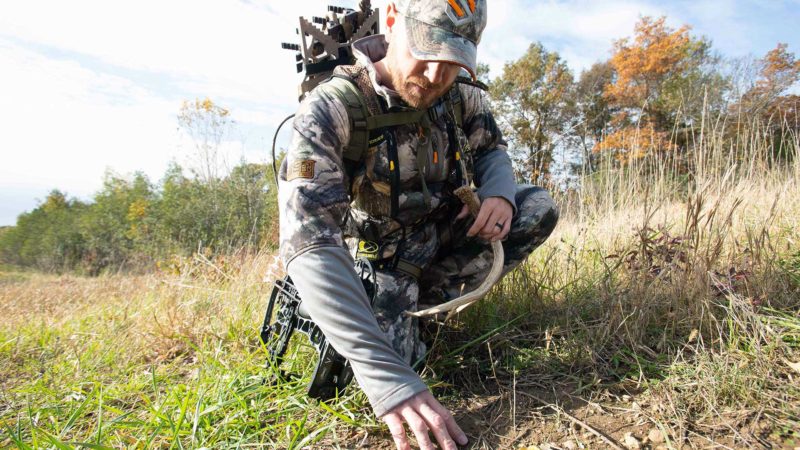
Regardless of your maximum ethical range while bowhunting, you should sight in a long-range pin to use in case of a follow-up shot.
I once made a 75 yard shot on a caribou after initially hitting it in the liver and then sneaking in for a second shot. I would never take a shot of that length on anything but a wounded animal. There is no ethics question when attempting long follow-up shots.
Sight-in your long-range pin for 20 yards beyond your normal maximum range. This gives you some leeway to hold over on super long shots and permits you to gap between pins for shorter shots.
14. Invest In Thermal Imaging
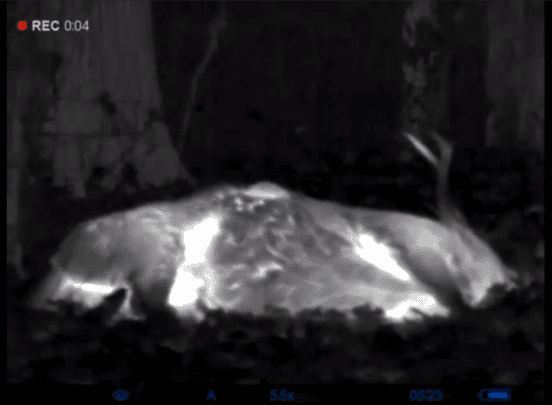
Advancements in modern technology have improved hunting in a variety of ways, and thermal imaging is no exception. Use of a thermal imaging scope can allow you to spot fresh blood, wounded or dead game animals in pitch black that may be difficult or impossible to see otherwise.
Modern thermal imaging scopes, like the Pulsar Axion, are compact and can be easily carried in your pack or pocket during game recovery missions.
As a bonus, thermal imaging scopes are great for scouting and locating live animals throughout the season.
15. Know When To Give Up The Blood
Stick with the blood when tracking a wounded animal, at least until you have spent three hours, or more, looking for the next drop.
At this point, you must make an important decision. When you abandon the blood trail, you are making something of a concession that you may not find the animal.
This is not to suggest that carcass searches are always a failure, but they are not as good for returning dead game as a standard blood trail. Don’t take this step lightly.
Spend as much time as you can trying to find the blood before giving it up.
16. Organize A Grid Search
I don’t waste time doing standard searches anymore. I jump right to the grid search, because it is so much more efficient. I’ve been on enough of them that produced the animal that I know you shouldn’t give up yet.
Gather as many friends as you can, and organize the searchers abreast in a line. Each person should be close enough to the next that he is able to see the other’s feet most of the time. This means that nothing will slip through the net.
In open cover, this might be 20 to 30 yards while in thick cover this may be only a few feet.
I once organized a search in an Alabama pine plantation. The new growth of trees was so thick that it was impossible to see the next person unless he was only a few feet away. Everyone stayed very close and we soon found the deer.
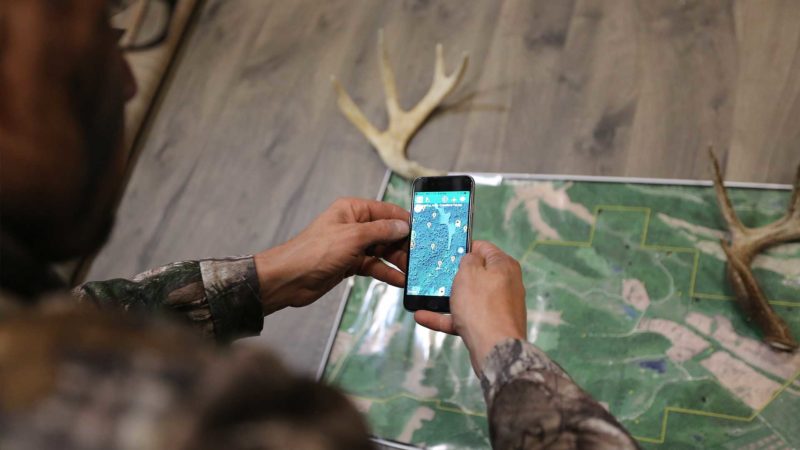
Mobile applications with GPS tracking are a great way to keep track of areas that you have covered, and ones you may have overlooked.
17. Call In A Blood Tracking Dog
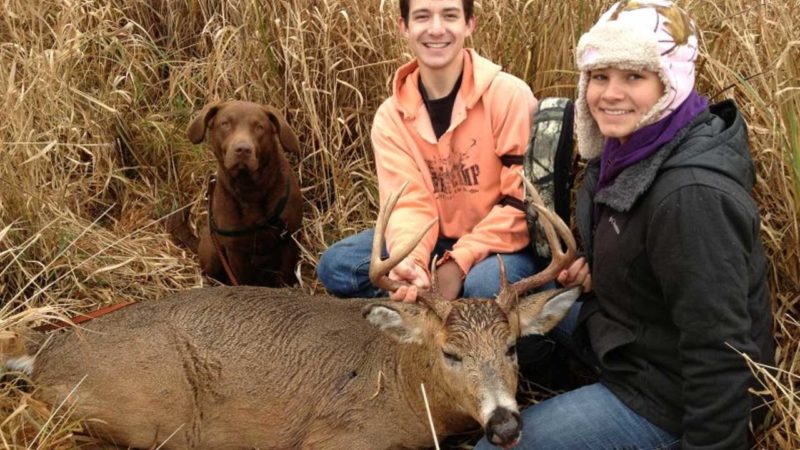
I’ve hunted in places were tracking dogs were legal and have been astounded by how effectively well-trained dogs unravel a blood trail. Even if you don’t have a dog, it is well worth the time and any handling fee to hire someone who does. A good dog will be able to follow sign that you can’t even see.
If you believe you have made a questionable hit and want to use a blood tracking dog to assist in your recovery, it is best to leave the area and not pursue the wounded animal at all. This ensures the blood trail is not contaminated by your or anyone else tracking the animal and will increase your odds for recovery.
You can find blood tracking dogs in your area on the United Blood Trackers website here: https://www.unitedbloodtrackers.org/
18. Beware of the Double-Back
Pay close attention to the blood trail early in the tracking process to determine which side of the trail the blood falls. This is important information to know in case the animal doubles back on its own trail.
This happens regularly and you will be mystified if you don’t notice that the blood is now dropping on both sides of the trail.
There will be cases when the animal is bleeding from both sides. When that happens, you will have a harder time determining when it doubles back, but always expect the animal to pull this trick at some point and be ready to reverse course if the trail suddenly stops.
19. Mark The Blood Trail
When the blood trail starts to taper off so that you can no longer follow it at a walk, begin marking every patch of blood with something highly visible. I usually use toilet paper tied to a branch because it is highly degradable should a piece or two be left in the woods.
The marked trail will help you to determine the route the animal is using and will make it easier to anticipate where the next drop is likely to occur. Also, you can quickly go back to the last blood and start searching in a new direction if the blood trail suddenly stops.
Mobile applications that track your movements are also a great way to document your blood trail and mark blood locations. These tools also allow you to visualize a general direction of travel should the blood trail be lost entirely.
20. Don't Listen To Blood Trailing Myths
There is an old rule of thumb that says a wounded animal will only travel downhill. This is not true. I’ve seen many deer, and other game animals, pull some pretty steep hills only to be found near the top stone dead.
Don’t let common myths about what a wounded animal is supposed to do cloud your thinking when setting up a grid search. Search everything, even if you don’t think the animal would go there.
There is no such thing as a standard blood trail. Every one is different, requiring some creative thinking and woodsmanship on your part.
Most importantly, they all require patience. If you have a fundamental understanding of which tracking methods work and which ones don’t work you will be ready for any blood trailing challenge that comes your way.


