Creating a food plot on the right property can be just what you need to find success during the hunting season. Maybe you have dabbled in planting a food plot in the past by simply raking an area and seeding it down with a cheap seed blend through grasses and weeds.
In the right situation, a plot like that can produce but there is usually more prep work that needs to be done to find tangible success. But don’t be intimidated.
I’m going to walk you through when to start preparing, how large to make your plot, when and what to plant, and more.
Location
The first step to expecting anything to grow is sunlight. No matter what you’re planting, it will need around 3-4 hours of direct sun. Don’t expect seed to grow in a tiny opening or on your freshly made logging trails if there is a thick canopy of mature trees.
Some cheap blends that include rye grass might grow in these areas, but give you a false sense of accomplishment since they will likely not be preferred by deer.
You also need to think about the food plot location and make sure you can hunt over or near it to take advantage of your hard work. There is a huge desire for hunters to sit right over their food plot, especially your first food plot. I get it. You want to sit in the stand and admire your hard work.
Your best food plot location might be one ridge away, but they’ll be feeding in it before first light and maybe you can slip in the backdoor with morning access on another ridge and wait for deer to come back to the bedding area. Will your entry or exit bump deer off the food plot? Be sure to study online maps and get boots on the ground before haphazardly establishing a food plot in the wrong area.
When to Start Preparing the Area
Once you’ve picked a good location, you need to start thinking ahead of time for planting day. I try to reduce my use of chemicals like glyphosate (Roundup), but killing weeds before planting is almost always necessary for a successful food plot.
If tall weeds exist in the area, you will ideally mow them short, come back a week or so later and spray or burn the area to further reduce weed pressure at planting time.
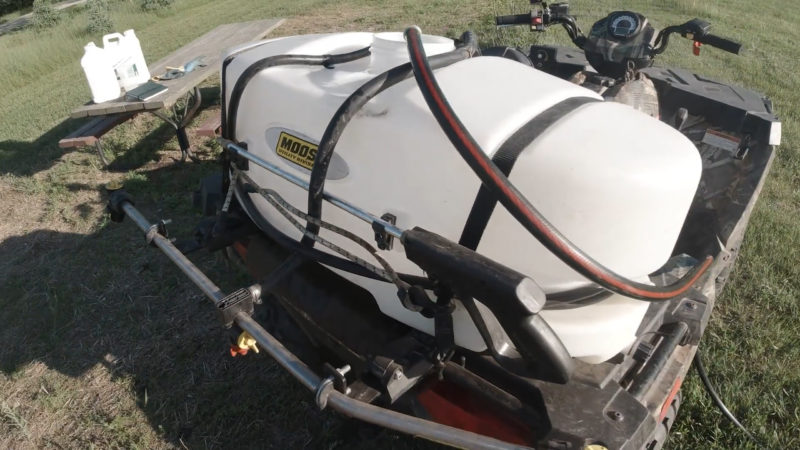
You can mow and spray the same day, but the effectiveness of spraying will be reduced if you’re spraying a thick layer of weeds you just mowed off. You can use a prescribed fire to clear the area of thatch and weeds, but you need to make sure you or someone helping is experienced doing this and be sure you have informed neighbors and a local fire department of your intentions.
Spraying weeds with glyphosate after mowing them short is the easiest way to clear an area, and this can be done with a 2-gallon hand sprayer. Spraying weeds that are a few feet high reduces seed to soil contact if you are not tilling the ground to plant.
Even if you are tilling, tall dead weeds create unnecessary duff, can jam up equipment like a disk or tiller, and can reduce germination rates. So again, it’s best to mow and then spray a week or so later.
Once you spray the weeds you mowed with glyphosate, you should give the area at least another 10-14 days to die off before you till, disk, or spread seed. For good seed to soil contact, you want to be able to easily spread apart weeds or grass and get to soil.
If you can easily do that, your spray will kill everything, and the seed should make its way to the soil nicely with a good rain. If you have to spread apart layers and layers of grass and weeds in order to reach soil, the area will not produce a lush food plot.
If you are running behind and want to prep an area in fall for next spring, you can mow weeds down then spray the area you want to plant and come spring you will have very little grass or weed matter to deal with when seeding. Preparing a spot in September or October can be a great way to have a clean area for frost seeding clover the following spring.
What to Plant
After finding your location and prepping the area, it’s important to nail down the plant varieties you’ll be establishing. When completing your first food plot, you need to understand your herd numbers, expected browse pressure, and soil types.
All of this can be a learning experience. Ask neighbors or hunters in the general area what grows well in the soil and what deer prefer. Sand and clay can be difficult to deal with. Behind soil type, the largest factor in deciding what to plant is the size of your food plot.
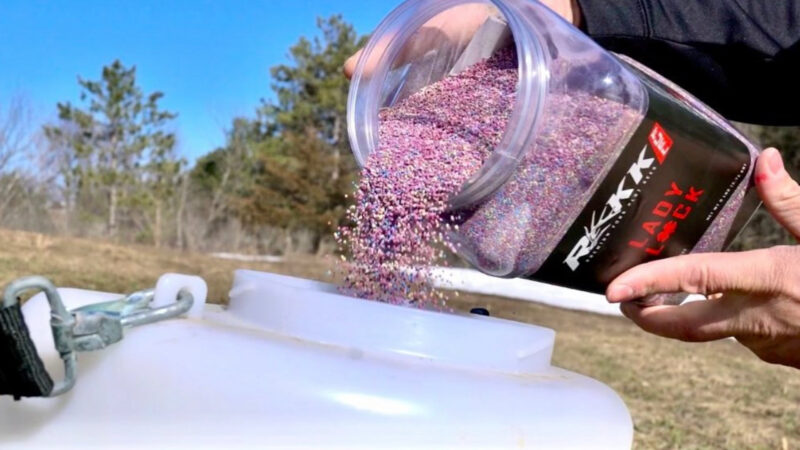
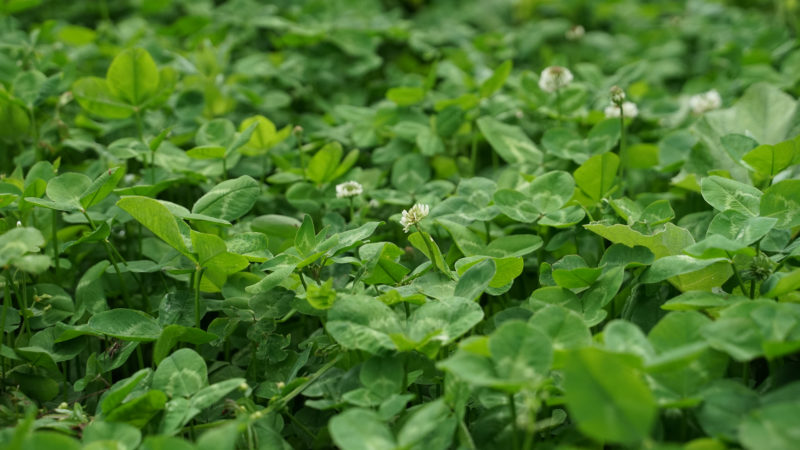
Small plots, less than 1/2 an acre in size, are ideal for plants like clovers, chicory, winter rye (NOT perennial rye grass) oats, or alfalfa. Let’s say you choose clover. Clover does especially well in small sizes because most varieties can withstand heavy browse pressure from deer, unlike most annuals like brassicas that are planted in small plots.
Perennials like clover re-grow, unlike almost all brassica blends, and corn and soybeans. The best part is perennials like clover return the following year and usually last 3-4 years with a little touch up and care.
When planting clover, seeding down a blend ensures you have a clover palatable for every soil type and weather pattern. It is hard to beat a blend of ladino, medium red, alsike, and even a few annual clovers like balansa or berseem clover. You can maybe even mix in some winter rye or oats for extra attractiveness.
Be careful planting annual brassicas like turnips, rape, radish, and kale in small food plots. I learned this the hard way in the fall of 2020. I planted a blend of brassicas in about an 1/8th acre area for a little “kill plot.” The only thing that got killed was my food plot!
It was decimated by deer and never got established due to heavy browse pressure. If you have a high deer density and you know that deer like brassicas in your area, I would try to plant around 3/4 to 1 acre.
You might be wondering why I haven’t mentioned corn and soybeans. While they might be the popular food plot source that you see on outdoor television, they can be difficult to establish on anything less than around 3 acres of ground.
Personally, I wouldn’t try to establish corn or soybeans in your first food plot unless you have help from someone with large equipment and knowledge of row crops. Alfalfa can be very attractive, but difficult to maintain because it needs to be baled and doesn’t respond well to mowing and having a duff layer on top of the new growth underneath.
When to Plant
Once you’ve established your location and seed blend, you need to time your planting correctly. First things first—be a weather watcher and focus on planting just hours before a rain. I would rather plant immediately before it rains and be 10 days late getting seed into the ground than sow seed “on time” but have it lay on dry ground with no rain for 4-5 days or even more.
Okay, now it’s time to understand what time of year is best to plant certain food plots. Seeds like clovers and chicory do great in both spring and fall. If you plant in the spring, you’ll need good rain to establish the clover in preparation for some hot, dry conditions come mid-summer.
Planting clover in the fall can be a great plan as rain and moisture are usually on the rise headed into the fall months. Mixing clover during a fall planting of brassicas can be a great way to nurse the clover into the next year. Be aware if you plant clover with bulb producer brassicas like radish and turnip, the brassicas may not produce as large of bulbs due to lack of space.
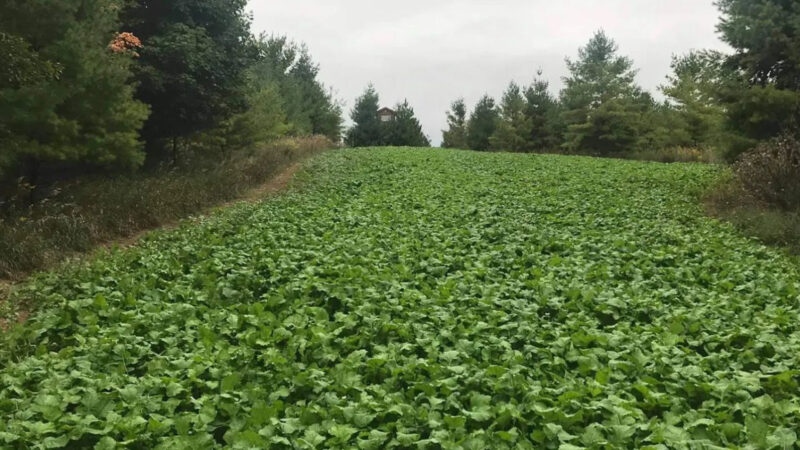
Brassicas are a powerhouse whitetail food plot planting in many areas throughout the U.S. and should be planted in late summer or early fall. A good rule of thumb is to plant brassicas like radish, rape, and turnips 45-60 days before the first frost in your area. For me, I aim to have brassicas in the ground by August 5th in Wisconsin.
Brassicas do not need a few frosts to make them tasty to deer, that is an old myth that somehow got popularized. In many areas, deer will begin eating brassicas when they are just a few inches tall. Planting brassicas too soon leaves them “stemmy” and not as palatable to deer. If you plant too late, you risk them not getting to their desired size.
Mixes like oats and winter rye or winter wheat should be planted so that they reach about 8-10 inches of height before hard frosts. Oats and winter rye or winter wheat are cheap, but can be extremely attractive during falls months.
Oats will likely die off during the winter, but rye almost always comes back up the next spring—even before clovers. Winter wheat and rye can germinate down to around 37 degrees, so they can be planted just a few weeks before cold weather and have measurable success.
Equipment
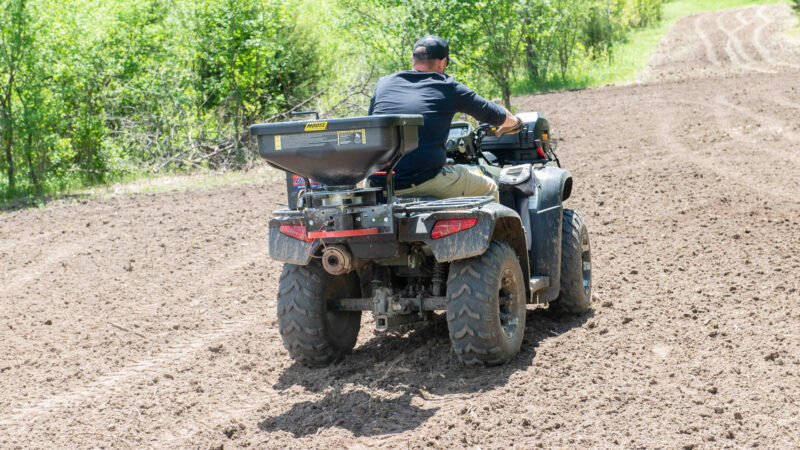
First, let’s talk about hand tools. Once you lower the weed height with a mower or weed trimmer, you can spray with a hand sprayer. Come back after a few weeks and you’ll be able to spread your seed with a hand seeder. If weeds have died well, seed just before a rain and you should have good success provided the weed layer isn’t thick.
Heavy equipment has its advantages with food plots. If you have access to large equipment, you can save time and ensure optimal germination with your first food plot. The process is really no different than with hand tools. Prep the area by mowing it down short, spray the weeds and then disk or till 10-14 days later. Till or disk the area with a few different passes to create a nice seedbed.
To increase germination, you can use a cultipacker after tilling, and then again after spreading seed to just lightly press seed into the soil. Clovers, chicory, and brassicas are tiny seeds and shouldn’t be buried more than ¼”. In fact, I usually spread them on top of my well-prepared seed bed and let rain bury them. Winter wheat or winter rye, and oats all should be buried around ¼”-1/2” but a good rain will bury them enough for good germination as well.
Be sure to check out Rakk Fuel products for the food plot seed you need, as well as Moose Utility Division for the equipment to help get them in the ground.
Your first food plot might seem intimidating, but if your seed finds a clear path to the soil with adequate rainfall—you will find a level of success. There are always improvements to be made and preparations to be tweaked, but that is all part of the fun and planning with food plots.
Watch the video below for the guide on how to create the perfect kill plot.

 By
By 