A D-Loop is simply a piece of cord that is attached to the bowstring above and below the arrows nock in order to provide a connection point for a hand held release aid.
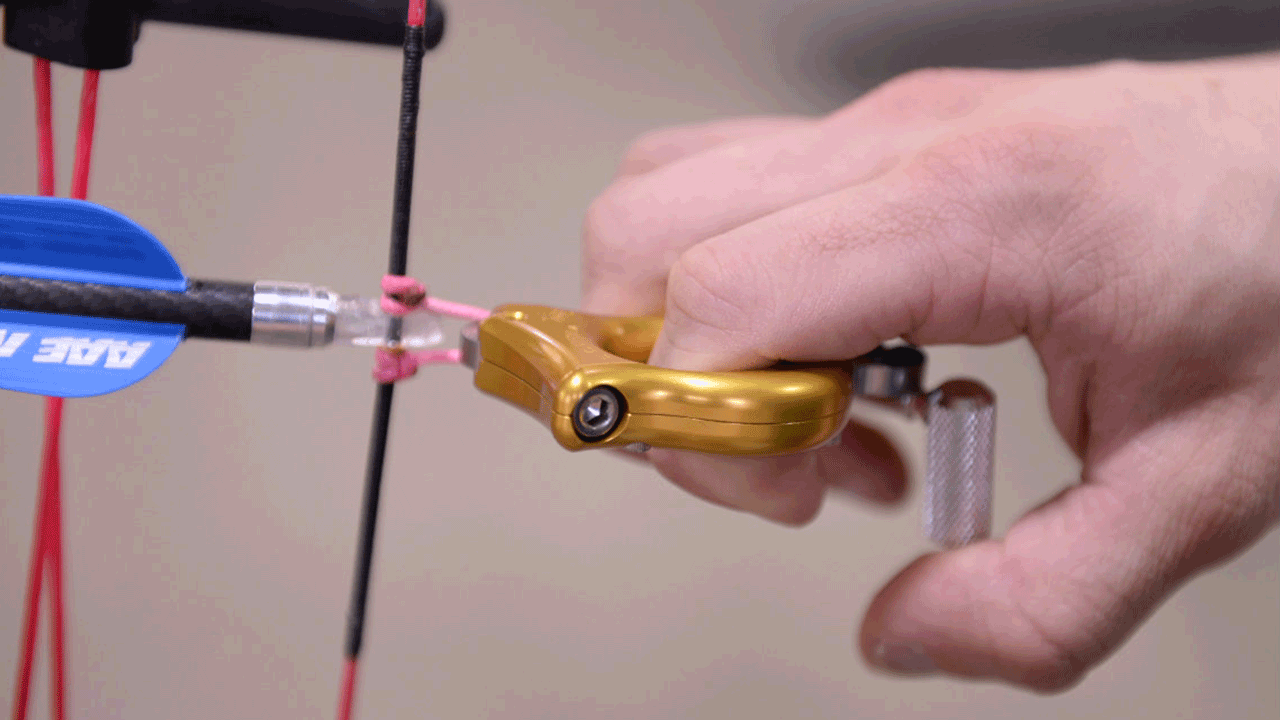
There are several advantages to installing a D-Loop on your current bow rig. First, a D-Loop will insure that your arrow stays vertically consistent as the arrow cycles through the bow.
Research video has shown that arrows that are not supported above and below the nock tend to walk up and down the string during the shot. This will ruin accuracy.
Second, D-Loops, or string loops, are made of a flexible material and therefore offer a measure of forgiveness when shot using a release aid.
Lastly, they can extend the life of your bowstring and serving since your release aid will never attach directly to either one.
Materials & Tools Needed
- D-Loop cord at least 4 ¼ inches in length
- Lighter
- Ruler
- Bow Square
- Scissors
Step 1
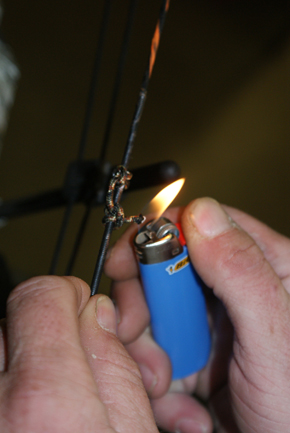
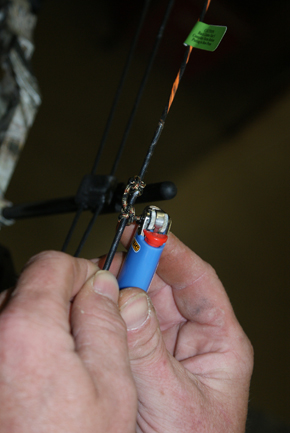
Take your cut loop material and mash the edges out to form sort of a mushroom. Then, while using your lighter, burn one edge as you rotate the cord over the flame. As a ball begins to form on the end of the cord you should blow out the flame.
Immediately press the burnt end of the cord against the lighters metal housing; just enough to form a mushroom without flattening the end of the cord making it brittle. Ideally, you want a solid ball on the end of your cord.
Step 2
Using a bow square, locate your “tie in” location by cutting the Berger hole in half and marking 1/8 of an inch high of the perpendicular location provided by the bow square. Mark this location with a permanent marker.
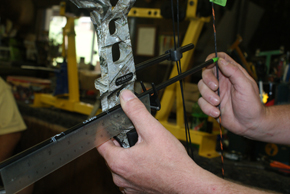 In order to make your bow as accurate as possible it is important to make exact measurements when installing any accessories. | 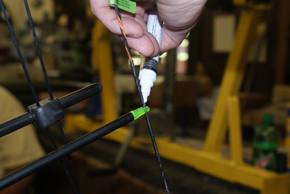 In this case, a clear ruler works well as it allows the mechanic to see through it which results in more precise feedback and setup. |
Step 3
Using the “bulbed” end of your cord, tie a cinch knot (as shown) above your mark on the bowstring. Once you have tied the cinch knot, pull on it with the free end of the cord to ensure you have a safe and secure knot.
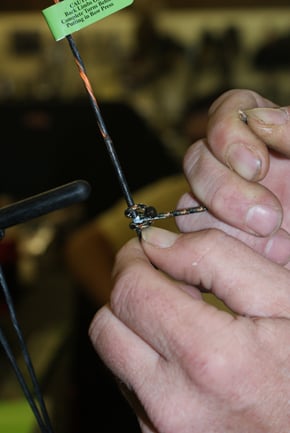 Tie a cinch knot above your mark using the “bulbed” end of your cord. | 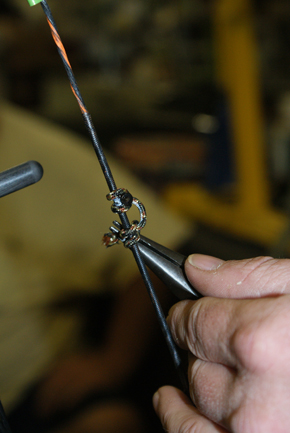 Never pull back on your D-Loop without first testing it with a pair of pliers to make sure the knot holds. |
Step 4
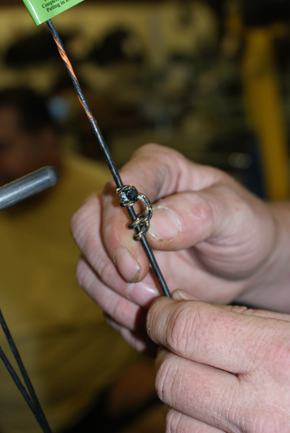
Next you will tie your finishing knot on your bowstring opposite the top cinch knot you just made. Once you have done that, pull the free end snug, but not tight, and cut the excess cord of about ½ inch from the bowstring.
 | 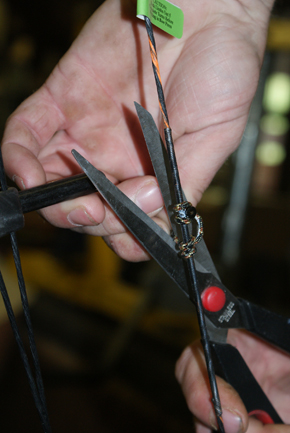 |
| Anytime you are using sharp objects such as a knife or scissors near your bowstring you should be extra cautious. | |
Step 5
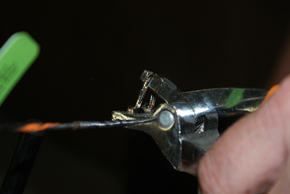
Repeat the bulb burning process described above. Then, using D-Loop pliers pull firmly to tighten the bottom knot. You are now done installing your D-Loop.
 |  |
 | 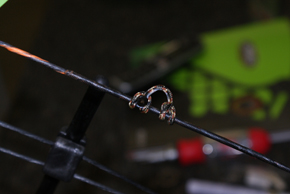 |
| With just a few simple steps and some precise measuring, you can quickly and easily install your very own D-Loop; making you bow more accurate and forgiving. | |
Points to Remember
While your D-Loop may appear small at first, understand that it will stretch over time and it only needs to be long enough to supply ample room to accept your release head without interfering with the arrows nock.
You can also experiment with pre-cut cord lengths until you find the one that suits your needs. D-Loops are usually cut 4 ¼ inches in length, but this measurement is not set in stone.
Watch the video below for additional instructions on how to tie a string loop.

